Magic AI
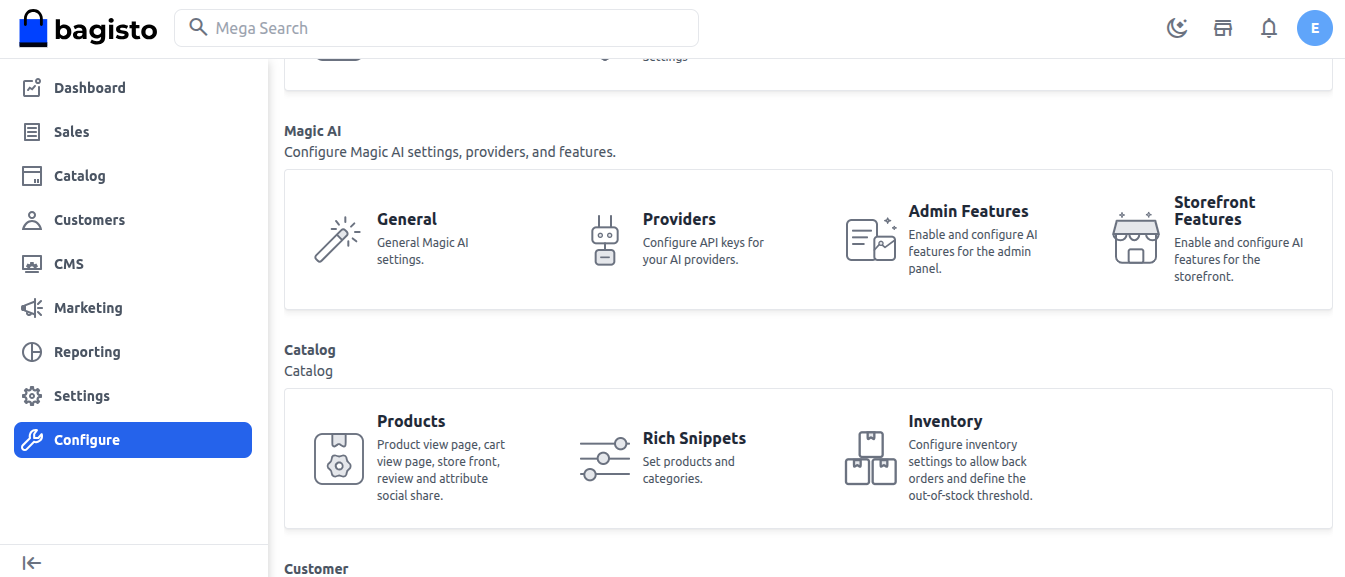
To configure Magic AI, go to the Admin Panel and navigate to Configure -> Magic AI.
Here you will able to see the seprate section to configure Magic AI Settings, Providers, Admin Features and Storefront Features as shown in the image below.
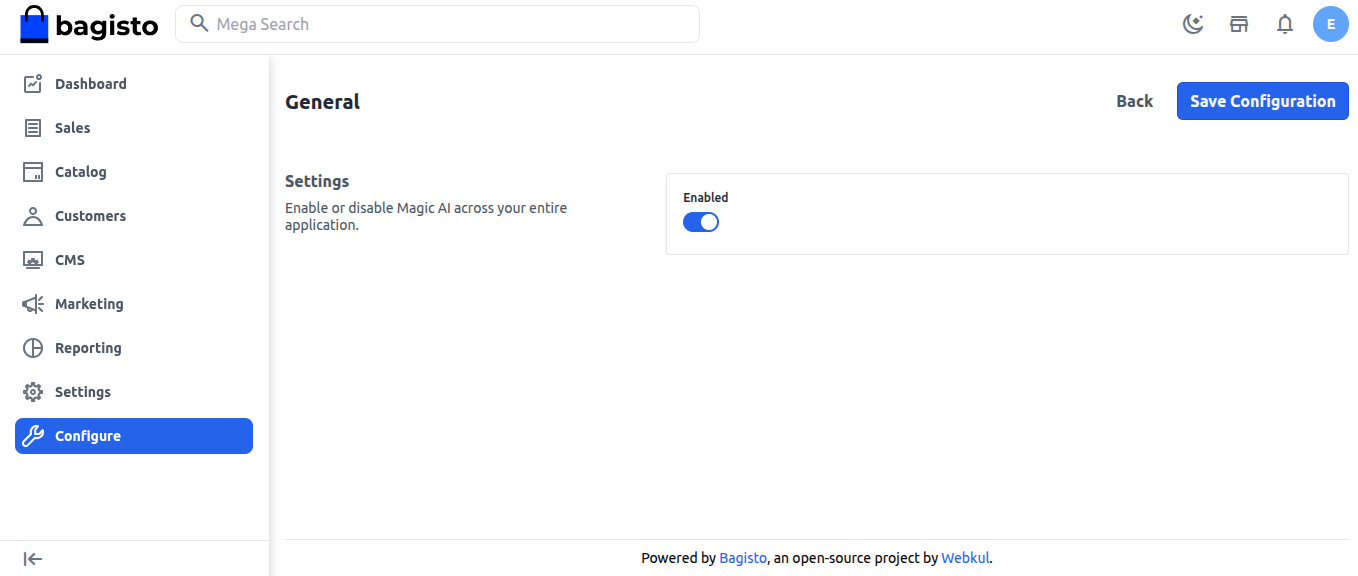
General
In the General section, a toggle button is available to enable or disable the Magic AI feature across the entire application.
To use the Magic AI feature, you need to enable this option and then click on Save Configuration button.
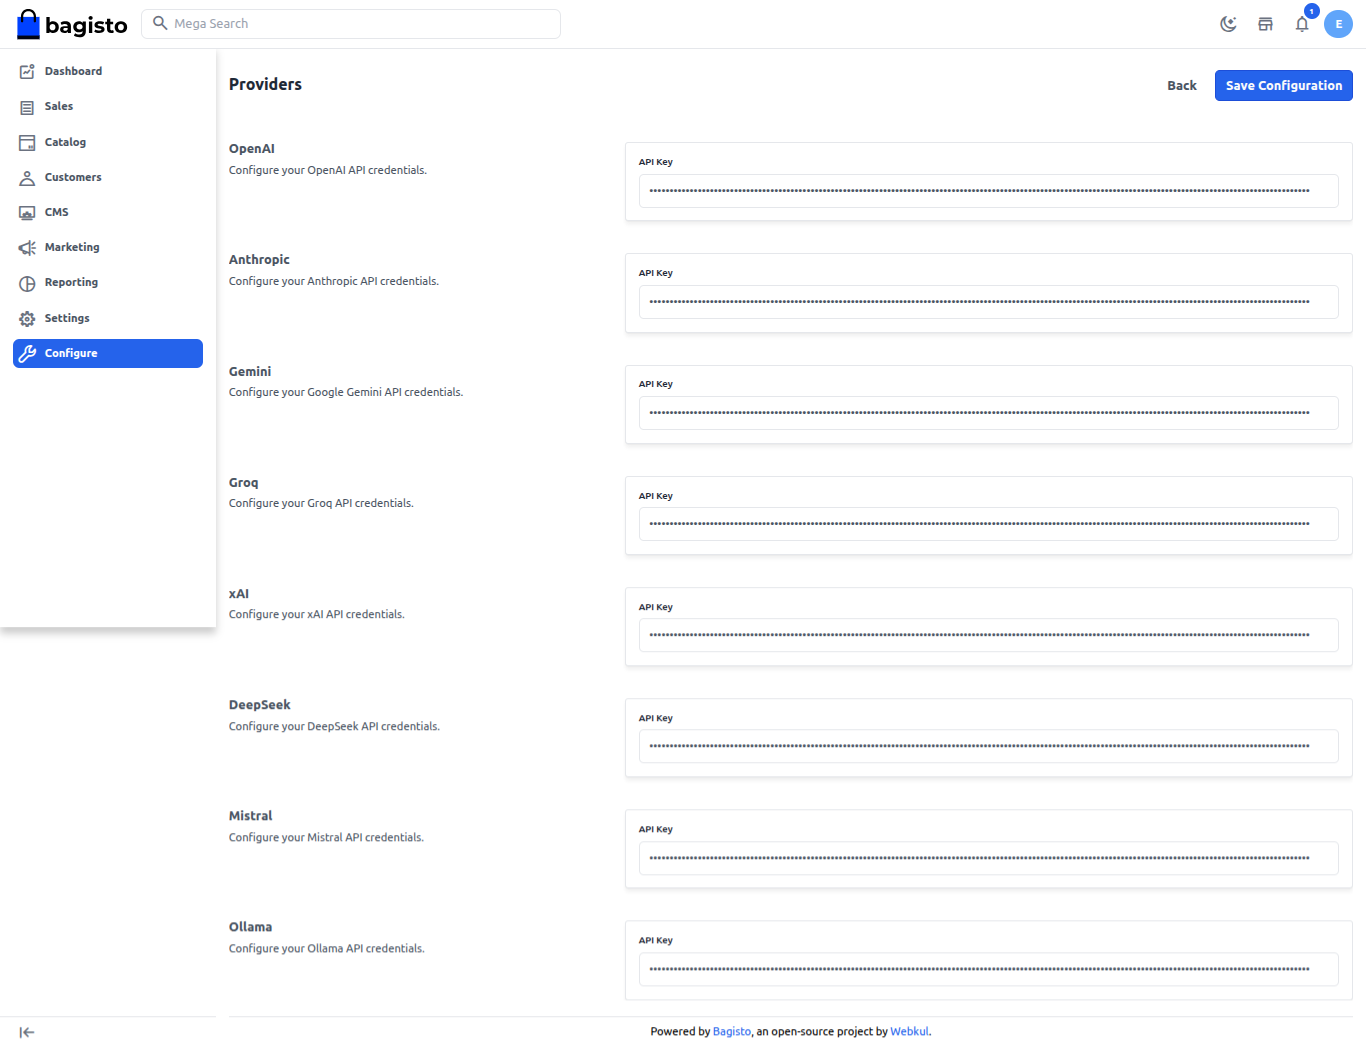
Providers
By default, we provide multiple Magic AI providers such as OpenAI, Anthropic, Gemini, Groq, xAI, DeepSeek, Mistral, and Ollama.
To start using any of these providers, you need to generate the API key from their respective official websites and add it under the Magic AI Providers configuration section. For the Ollama provider, you also need to specify the Base URL of your Ollama server.
After adding the API key and other required details, make sure to click on the Save Configuration button to apply the changes successfully.
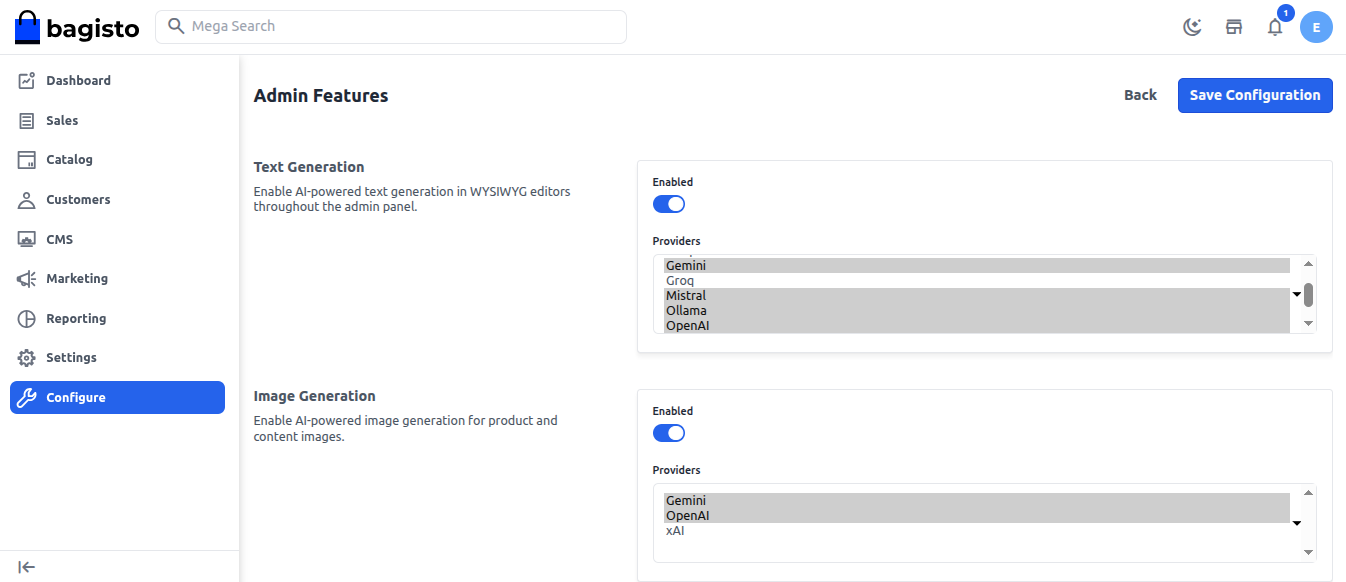
Admin Features
In the Admin AI Features section, there are two main features available:
1) Text Generation
2) Image Generation
Each feature includes a toggle button to enable or disable it. Along with this, multiple AI providers are available, and the admin can select as many providers as required.
The selected providers will be visible under the Text Generation and Image Generation sections, allowing the admin to easily choose which model or provider to use while proceeding.
At last click on Save Configurations button.
Text Generation
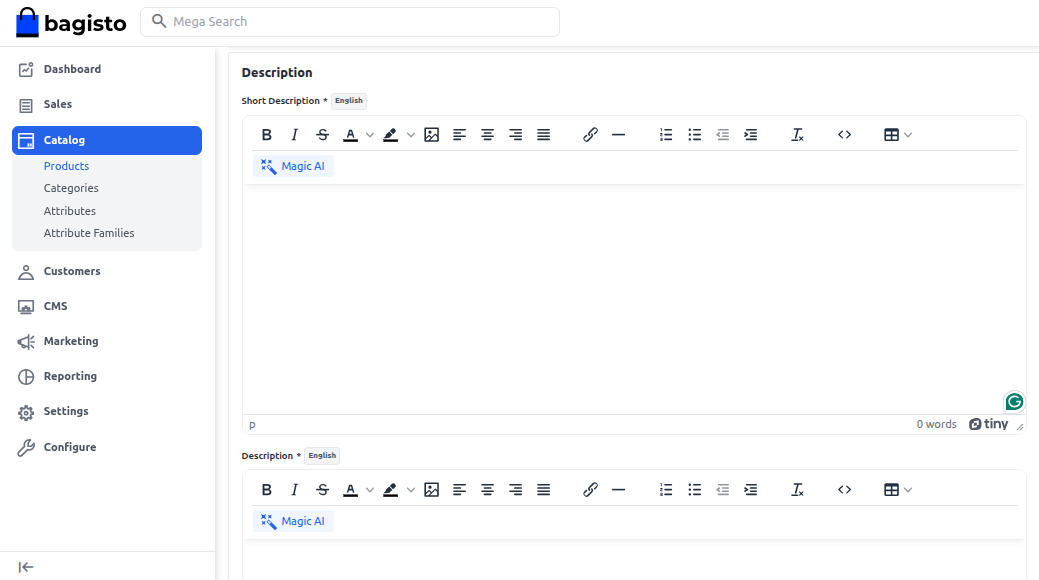
The Text Generation feature in Magic AI helps you create product short descriptions and long descriptions easily.
To use Text Generation with Magic AI, go to Catalog → Products, and click on the Magic AI button available in the description section.
This will allow you to generate AI-assisted content for product descriptions.
After clicking on the Magic AI button, a popup form will open where you need to enter the prompt related to the description you want to generate.
Then, you need to select a model from the Model List, and finally click on the Generate button.
Once done, your AI-generated content will be created automatically. Then click on Apply button to add the changes.
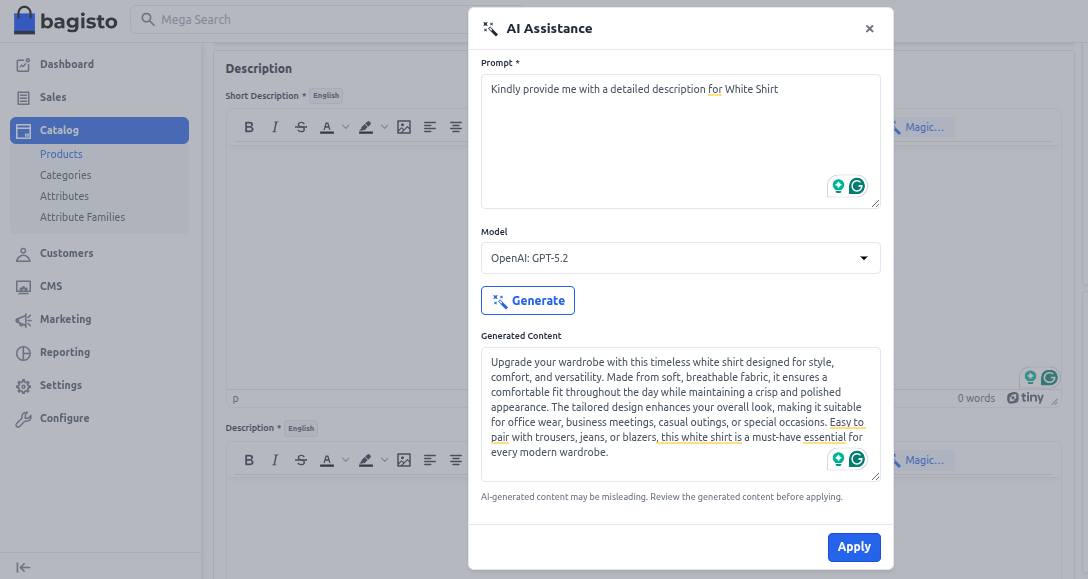
Image Generation
To use Image Generation, you can easily generate product images with the help of Magic AI.
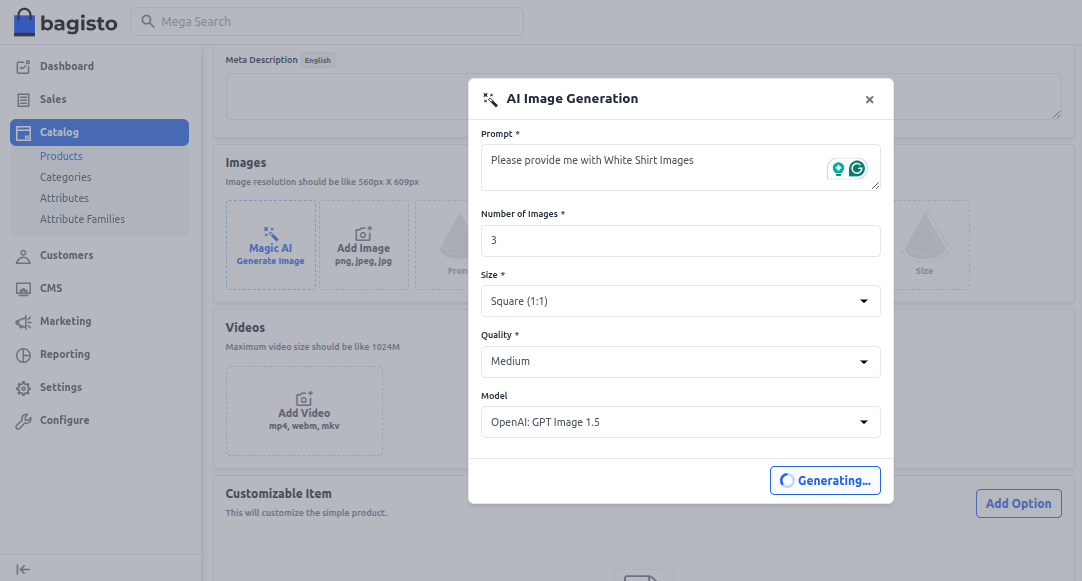
To use this feature, go to Catalog → Products, and in the Images section, click on Magic AI Generate Images.
Enter the prompt based on the type of image you want to create.
Specify the number of images (quantity) you want to generate.
Choose the image size. By default, we provide three options: Square, Portrait, and Landscape.
Select the image quality — High, Medium, or Low.
Finally, choose your preferred model from the Model List and click on the “Generate” button to create the images.
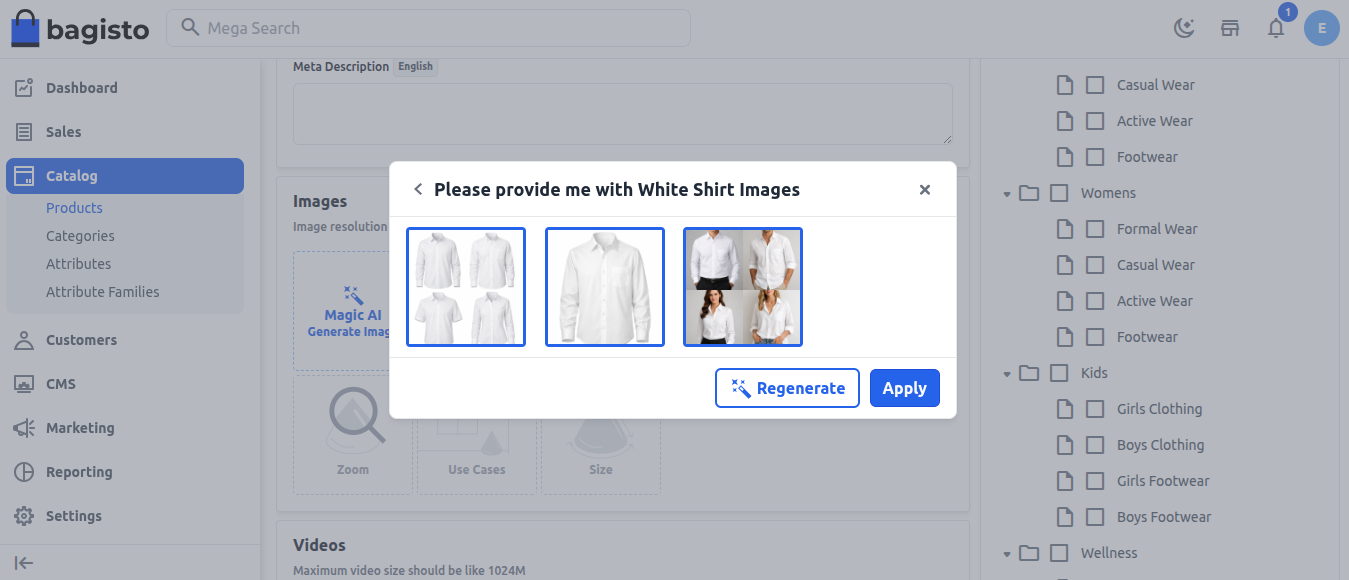
Once the images are generated, you need to click on the desired images to apply them. After selecting and applying them, your AI-generated product images will be successfully added.
If you are not satisfied with the generated images, you can simply click on the Regenerate button to create new images again.
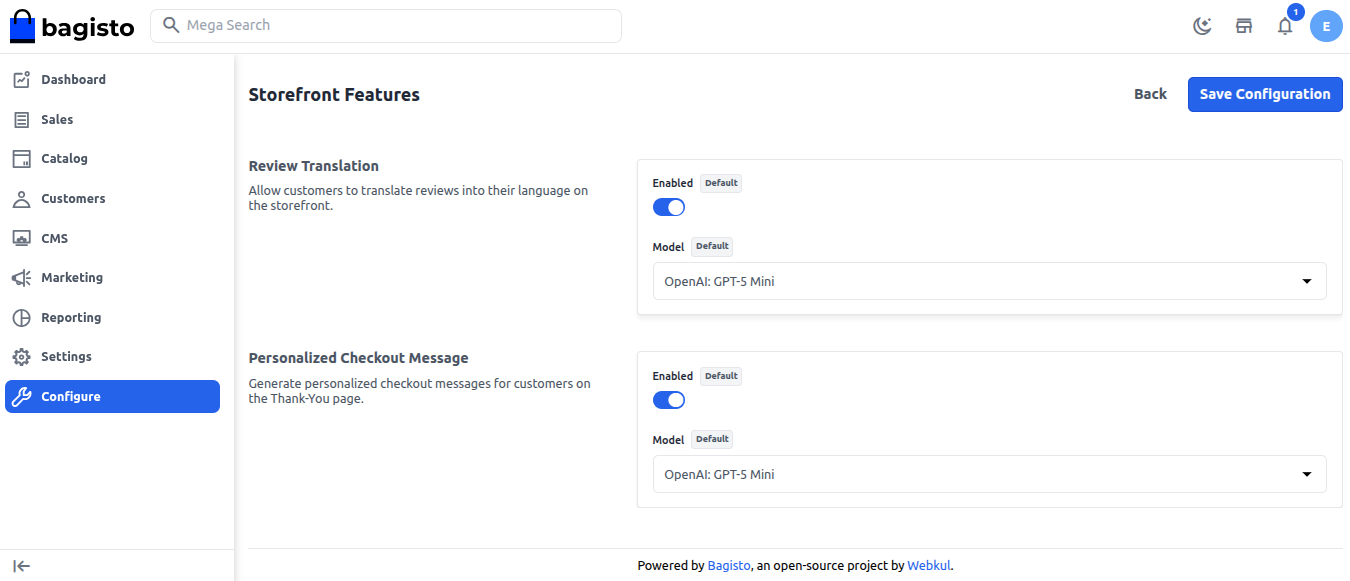
Storefront Features
In the Storefront Features section, there are three main features available:
1) AI Image Search
2) Review Translations
3) Personalized Checkout Message
Each feature includes a toggle button to enable or disable it. Along with this, multiple AI Models are available, and the admin can select a desired model as per their requirement.
At last, click on the Save Configuration button to apply the changes.
AI Image Search
AI Image Search allows customers to search for products by uploading an image. Bagisto uses the Laravel AI SDK (MagicAI) to analyze the image and find matching products. You can configure the preferred AI model or use TensorFlow.js as a default fallback.
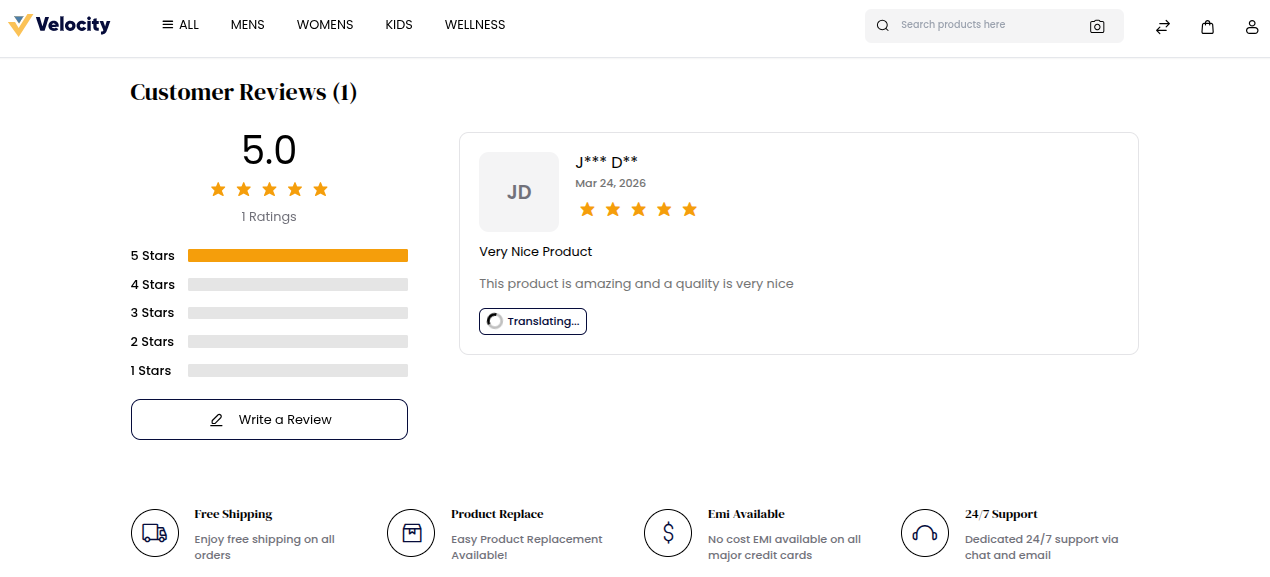
Review Translations
If someone just wants to understand what is written, this feature can simply translate the content for them into their preferred language.
Personalized Checkout Message
With the help of the Personalized Checkout Message feature in Bagisto, once you enable this option, customers will start seeing automatically generated messages after the checkout process and order gets completed.
It helps store owners create a more personalized and engaging shopping experience by displaying dynamic and AI-generated messages to customers at the time of checkout.
These messages can improve customer interaction, build trust, and encourage successful order completion, ultimately enhancing the overall shopping experience.
