Return Merchandise Authorization (RMA)
The Return Merchandise Authorization feature allows customers or guests to return products within a defined time period for a refund, replacement, or order cancellation.
It provides a simple and structured return request process.
This feature helps sellers and administrators handle return requests effectively from one location. It ensures clear communication and transparency throughout the return workflow.
By making after sales operations more efficient, RMA improves customer satisfaction and builds trust in the multi vendor marketplace. It also helps maintain smooth and reliable order management.
RMA Configuration
Note: Before proceeding with any RMA related actions, ensure that the RMA feature is enabled from the RMA Configuration section in the Admin panel.
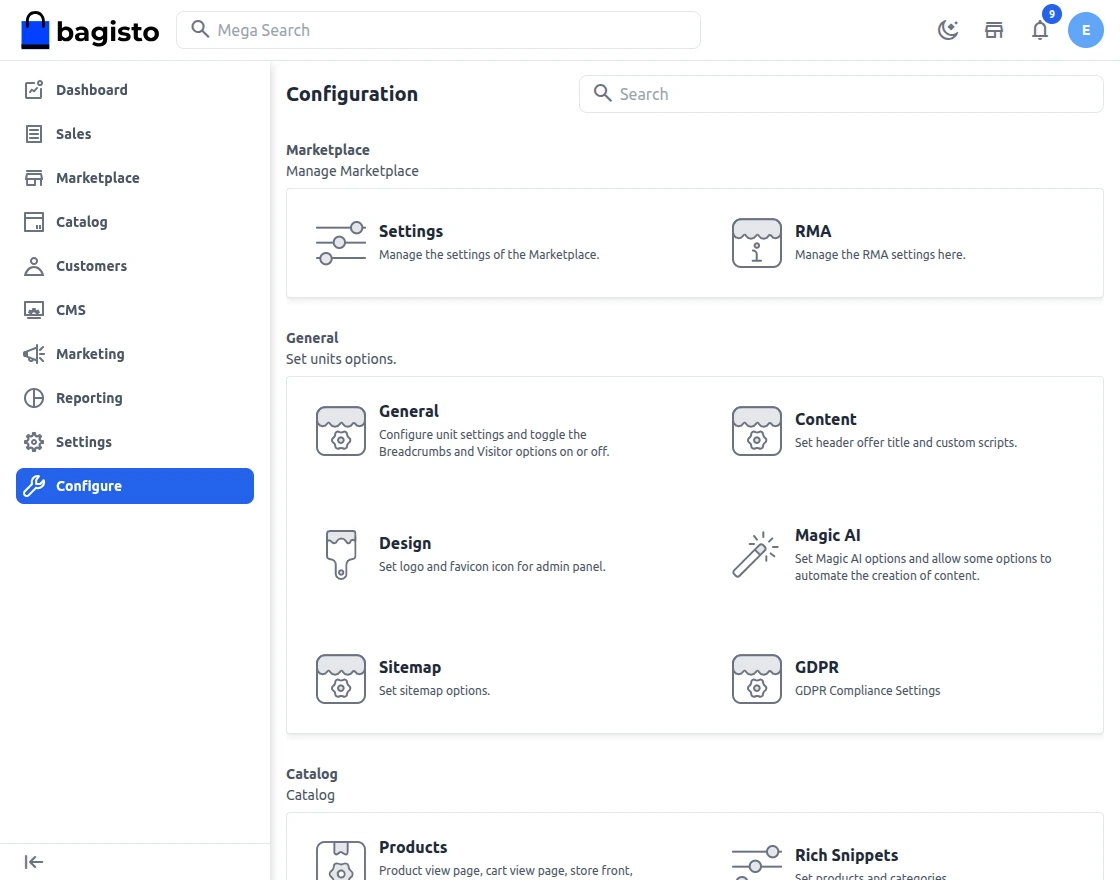
Select the required channel and locale, update the settings accordingly, and then continue with the RMA process.

Admin Dashboard Section:
Now, the Admin can navigate to the RMA option from the Marketplace section. Once RMA is selected, five tabs will be displayed for further actions and management.
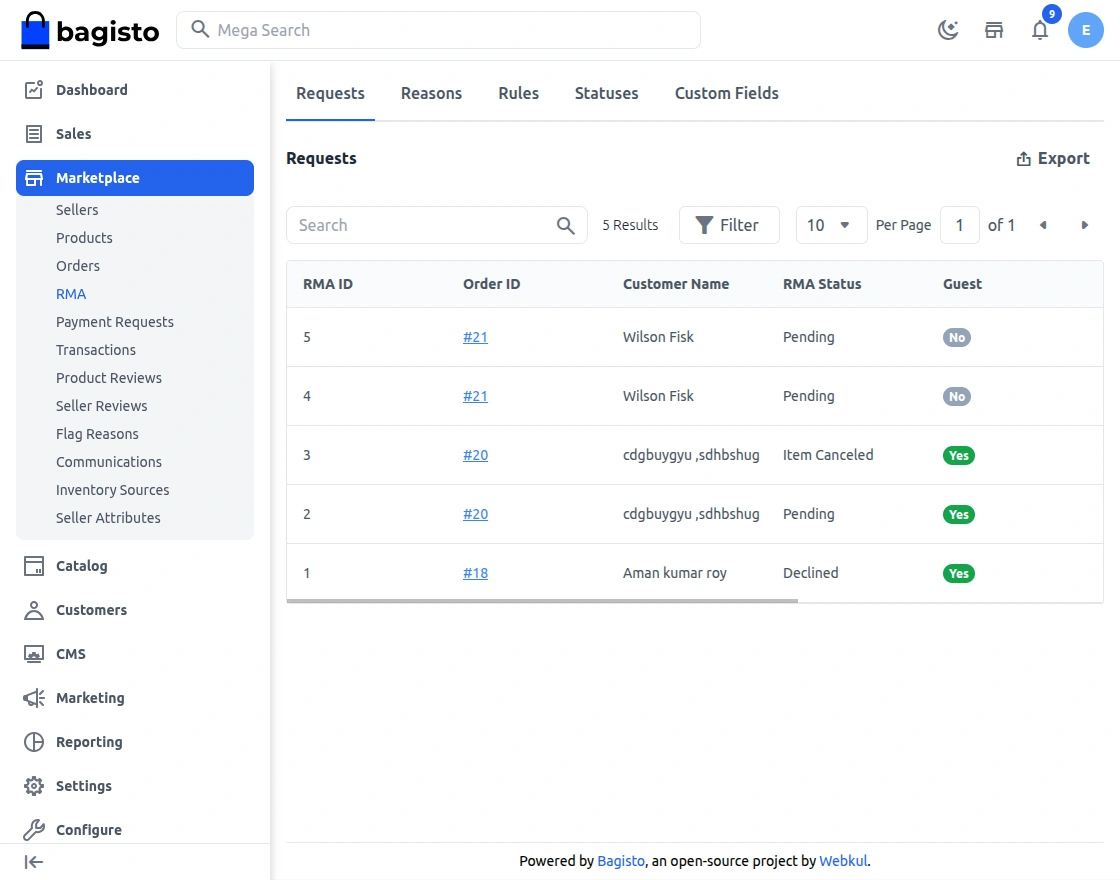
Requests
The Requests section displays all RMA requests raised by customers or guests in the marketplace.
It acts as a central place where the Admin can monitor every return, refund, or replacement request.
Admins can view order details, product information, selected reasons, and customer messages.
This helps ensure quick decision-making and smooth handling of after sales support across all vendors.
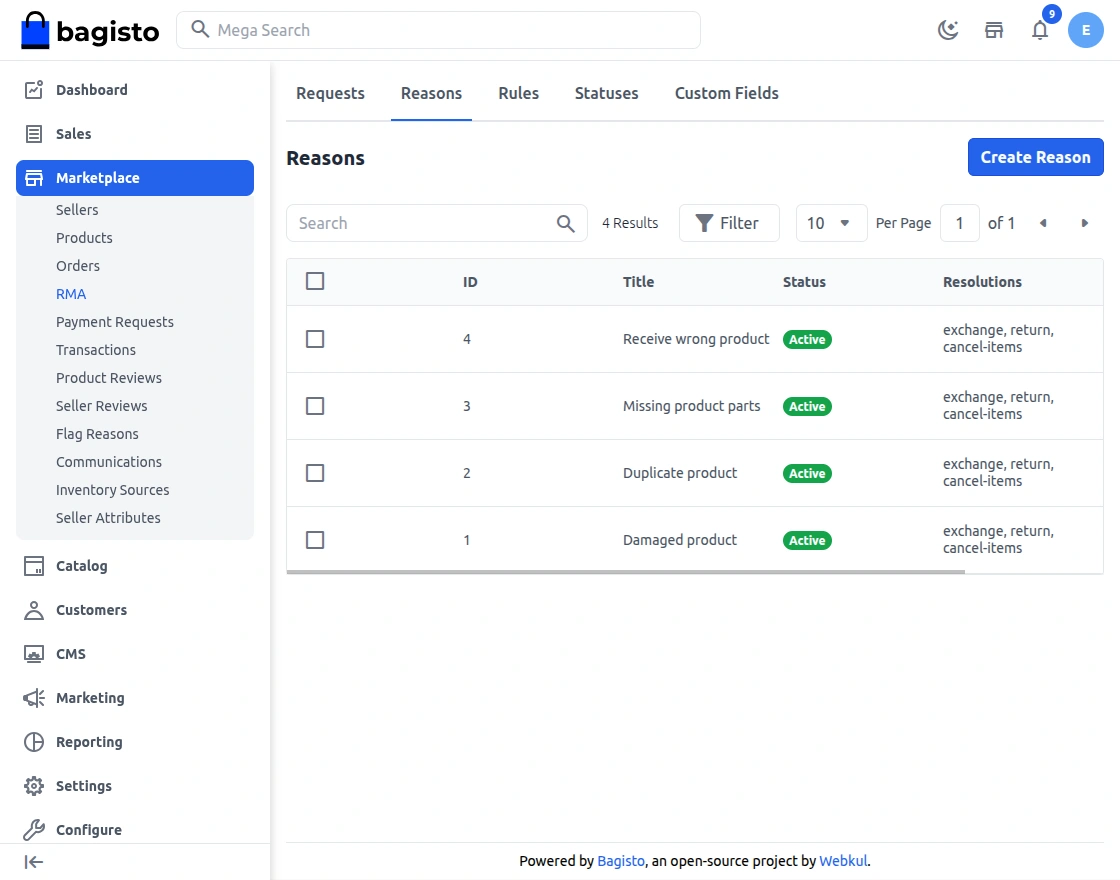
Reasons
The Reasons section allows the Admin to create, edit, and manage predefined return reasons.
These reasons are visible to customers while submitting an RMA request.
Using clear and relevant reasons helps customers explain their issue properly.
It also enables sellers and admins to understand return patterns and improve product quality or service.
Steps to Create RMA Reasons:
Step1: Go to Admin Panel → RMA → Reasons → Create Reason
Step2: Enter Reason: Add a clear and meaningful reason that customers can select while creating an RMA request.
Step3: Resolution Type: Choose the action to be taken for the request, such as Return, Exchange, or Cancel Item, based on the issue.
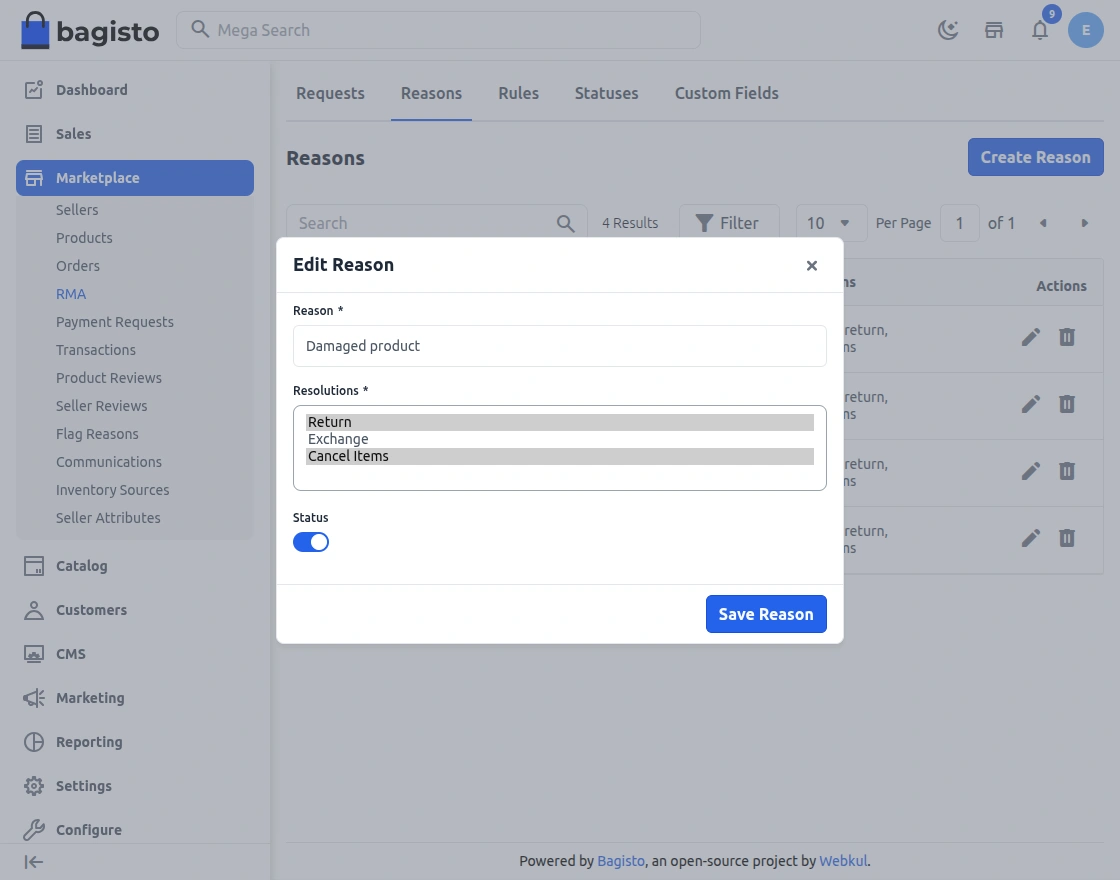
Click on Save Reason to save the changes.
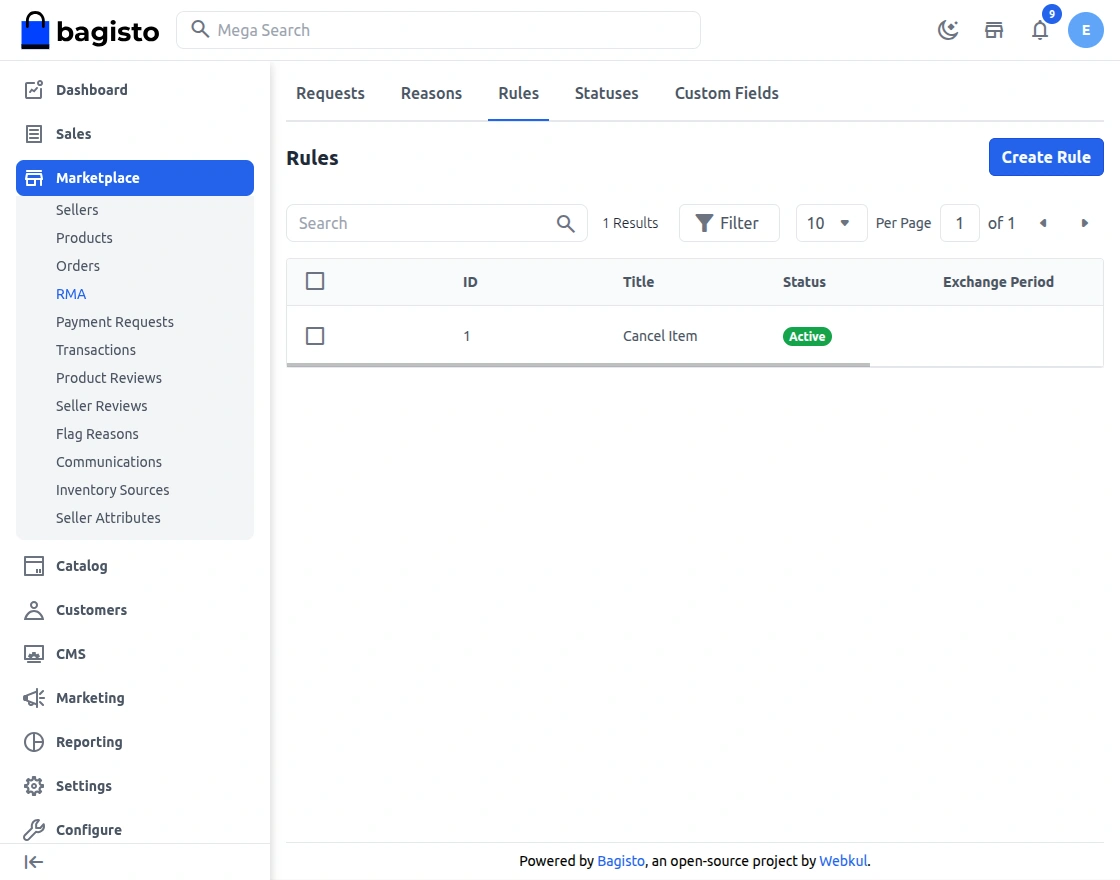
Rules
The Rules section helps define RMA policies that control how returns, refunds, and replacements work.
Admins can set conditions such as allowed return days, exchange periods, and rule status.
These rules ensure consistency across the marketplace and help vendors follow a standard return process. Proper rules reduce disputes and make RMA handling more transparent.
Now, the admin can create RMA rules by navigating to the RMA Rules section.
Steps to Create Rules:
Step1: Go to Admin Panel → RMA → Rules→ Create Rule
Step2: The admin can set the rule details, which include:
Rule Title: Enter the RMA rule title.
Status: Toggle button to enable or disable the rule.
Rule Description: Enter the description to define the RMA rule.
Resolutions Period: Provide the number of days for the resolution of the RMA.
- Exchange Period (Days)
- Return Period (Days)
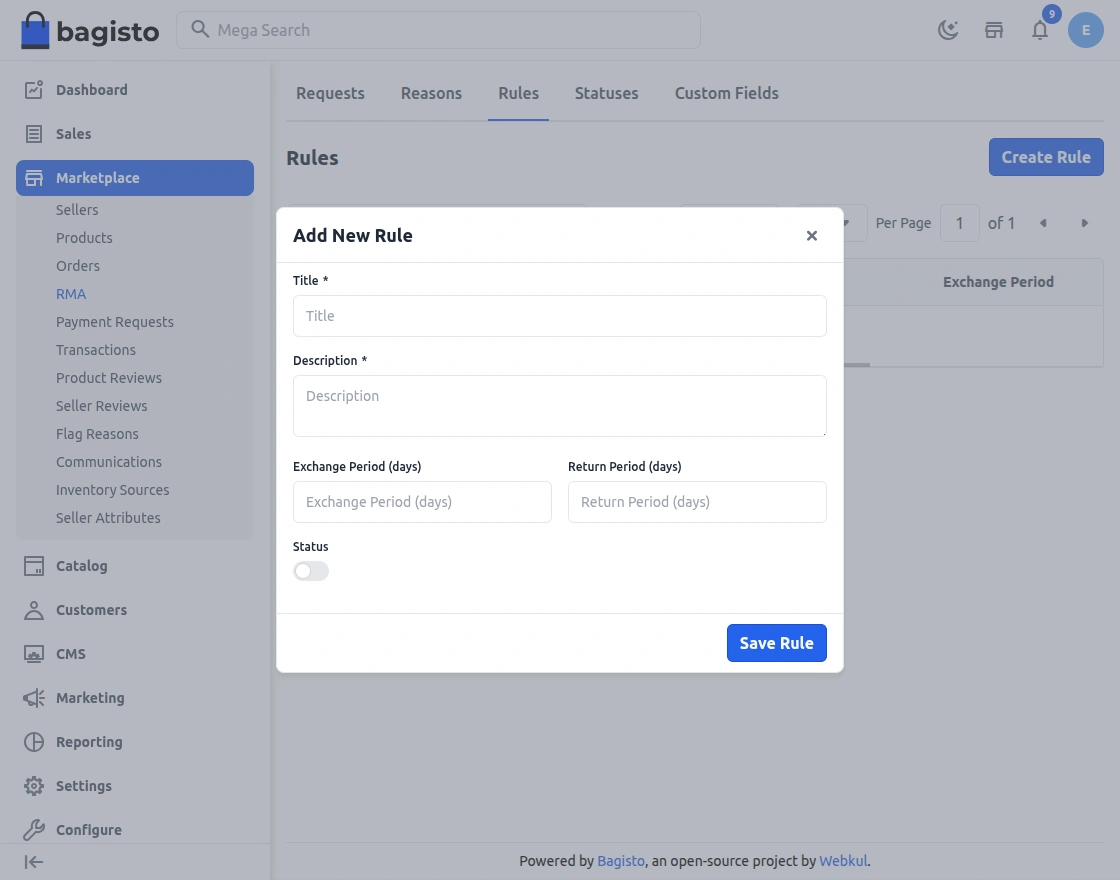
Click on Save Rule to save the changes.
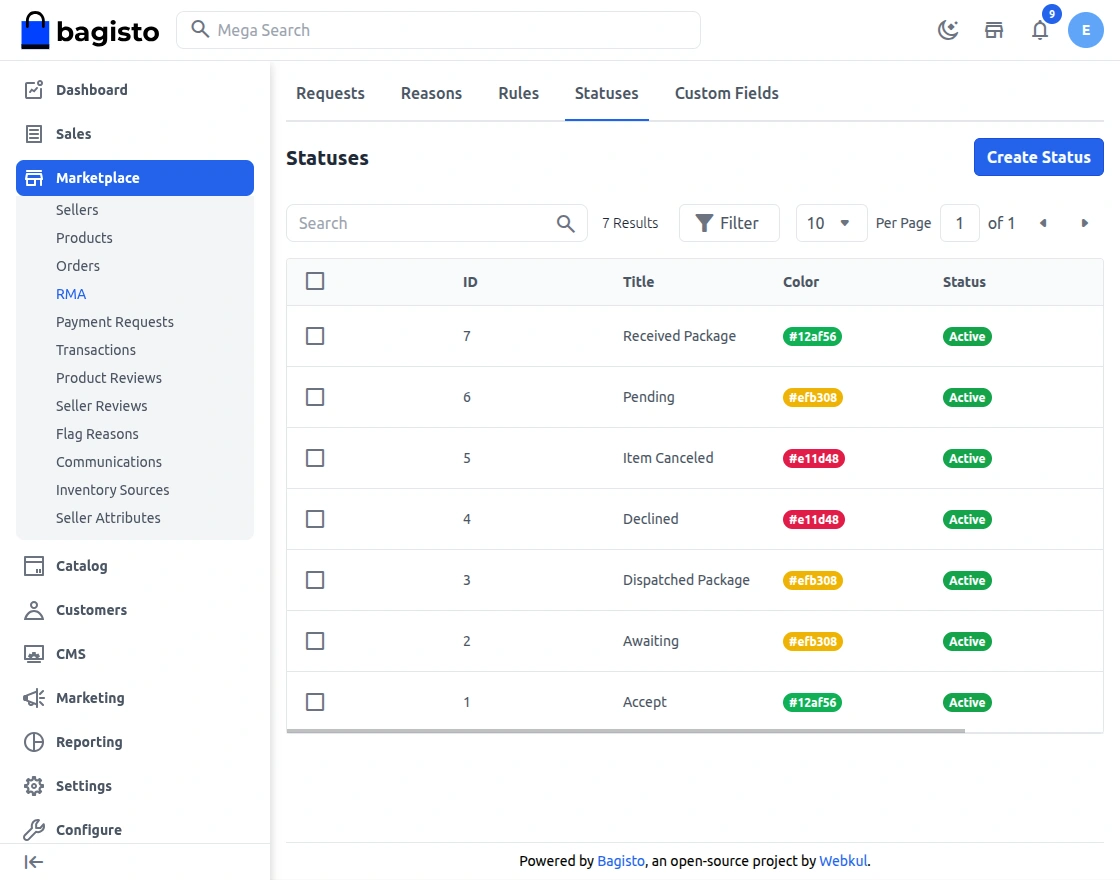
Status
The Statuses section is used to manage the different stages of an RMA request.
Each status shows the current progress of the return, such as pending review or completed.
Clear status updates keep customers informed and reduce support queries. Admins and sellers can quickly track and manage RMA requests more efficiently.
Steps to Create Statuses:
Step1: Go to Admin Panel → RMA → Create Status
Step2: Fill in the general details
1) Title: Enter the name of the status that will be shown for the RMA request.
2) Status: Enable or disable the status to control its availability in the RMA workflow.
3) Color: Select a color to visually identify the status in the admin panel.
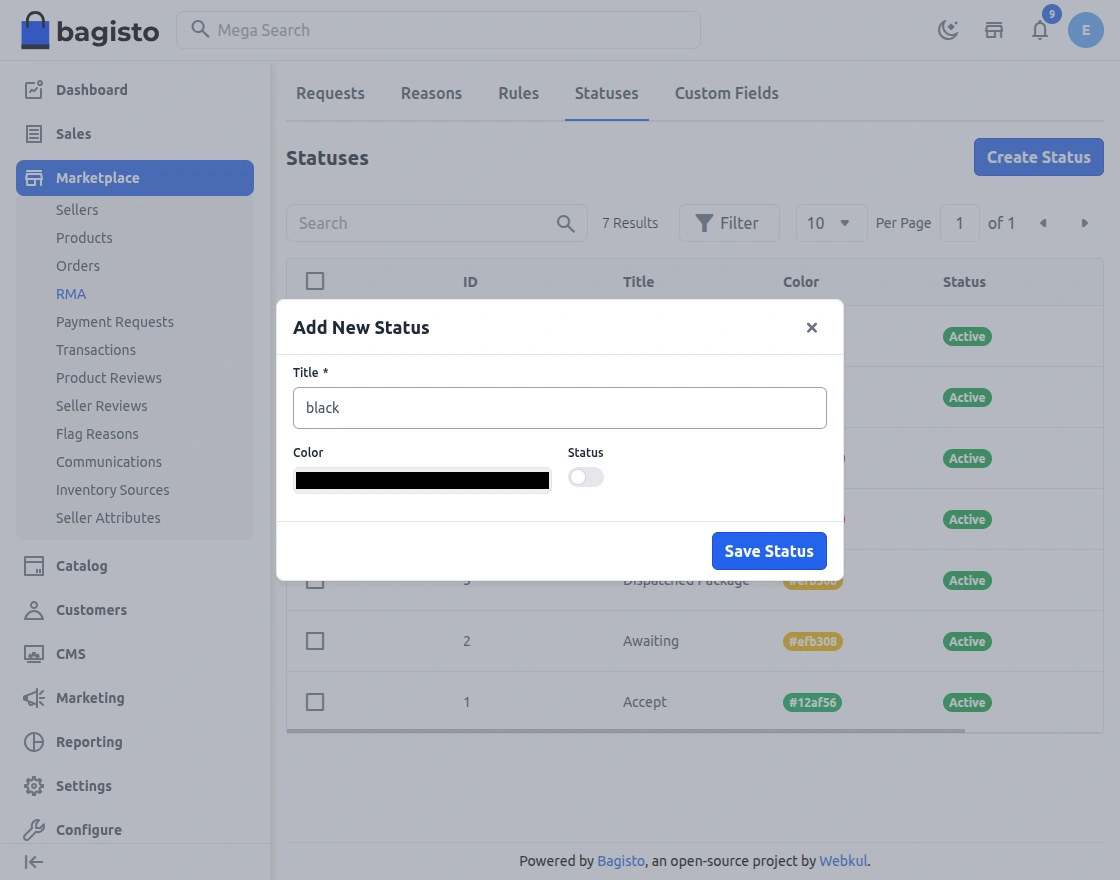
Click on Save Status to save the changes.
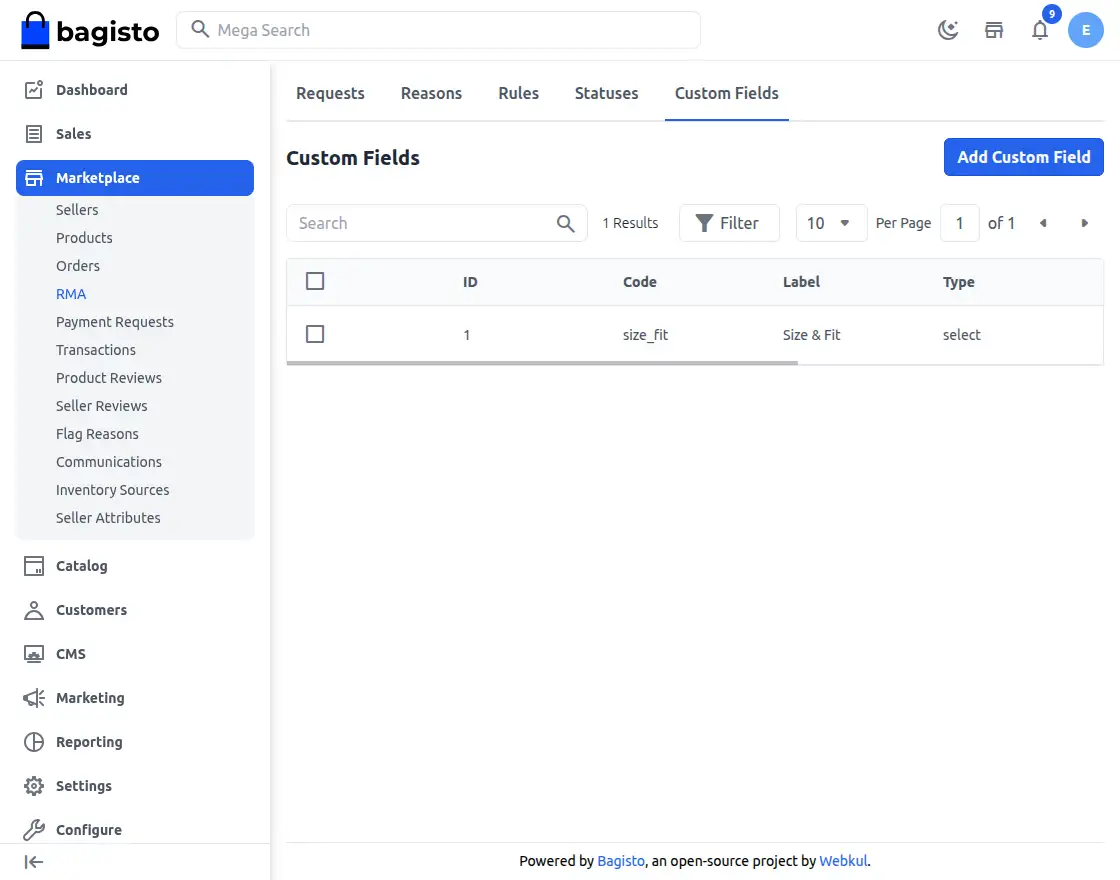
Custom Fields
The Custom Fields section allows the Admin to add extra fields to the RMA request form.
These fields help collect additional details such as images, comments, or order specific information.
Admins can configure field type, label, validation, and position. This makes the RMA form more flexible and helps gather accurate information.
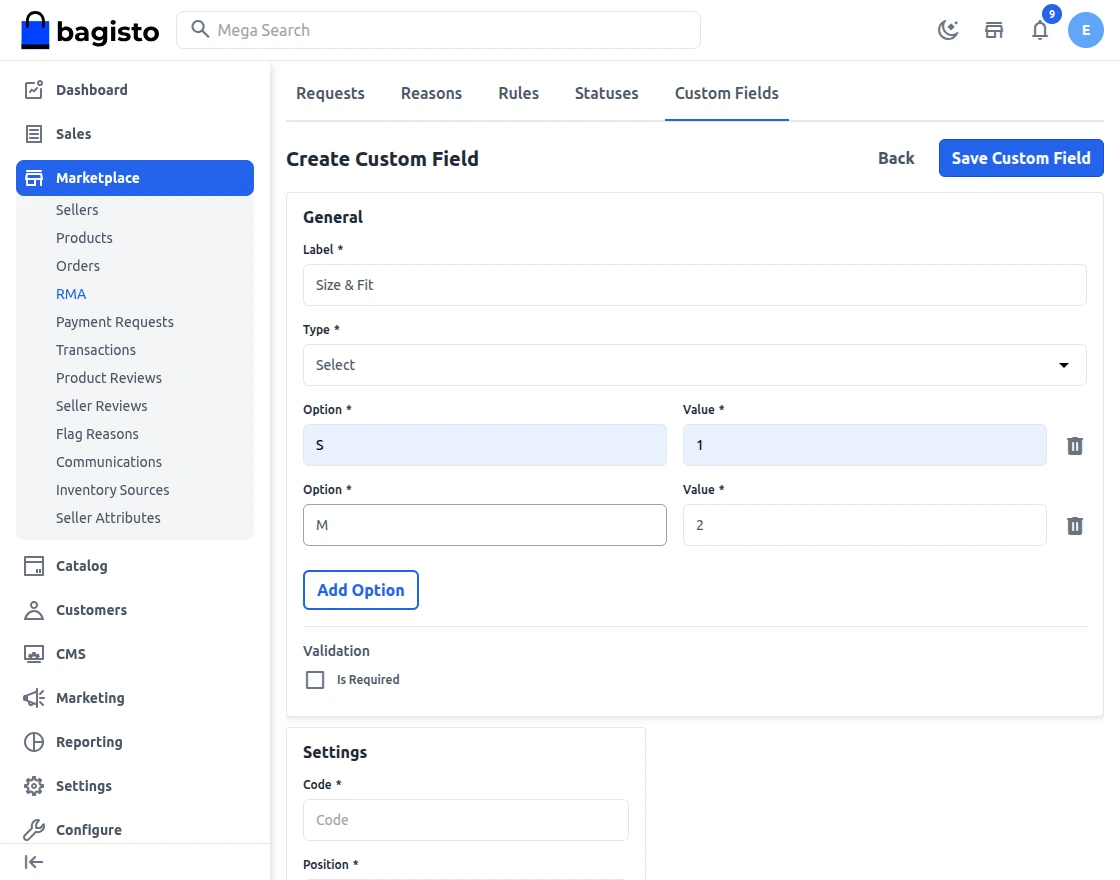
Steps to Create RMA Custom Fields:
Step1: Go to Admin Panel → RMA → Add Custom Fields
Step 2: Further navigate to the create new RMA Custom Field page.
1) Label: Defines the name of the field displayed on the RMA form.
2) Code: Sets a unique identifier used internally for the field.
3) Position: Determines the order in which the field appears on the form.
4) Type: Selects the input format, such as text, dropdown, or textarea.
5) Validations: Applies rules to ensure the field is filled correctly.
Seller RMA Management
Sellers can view all RMA requests generated by customers or guests from the RMA section.
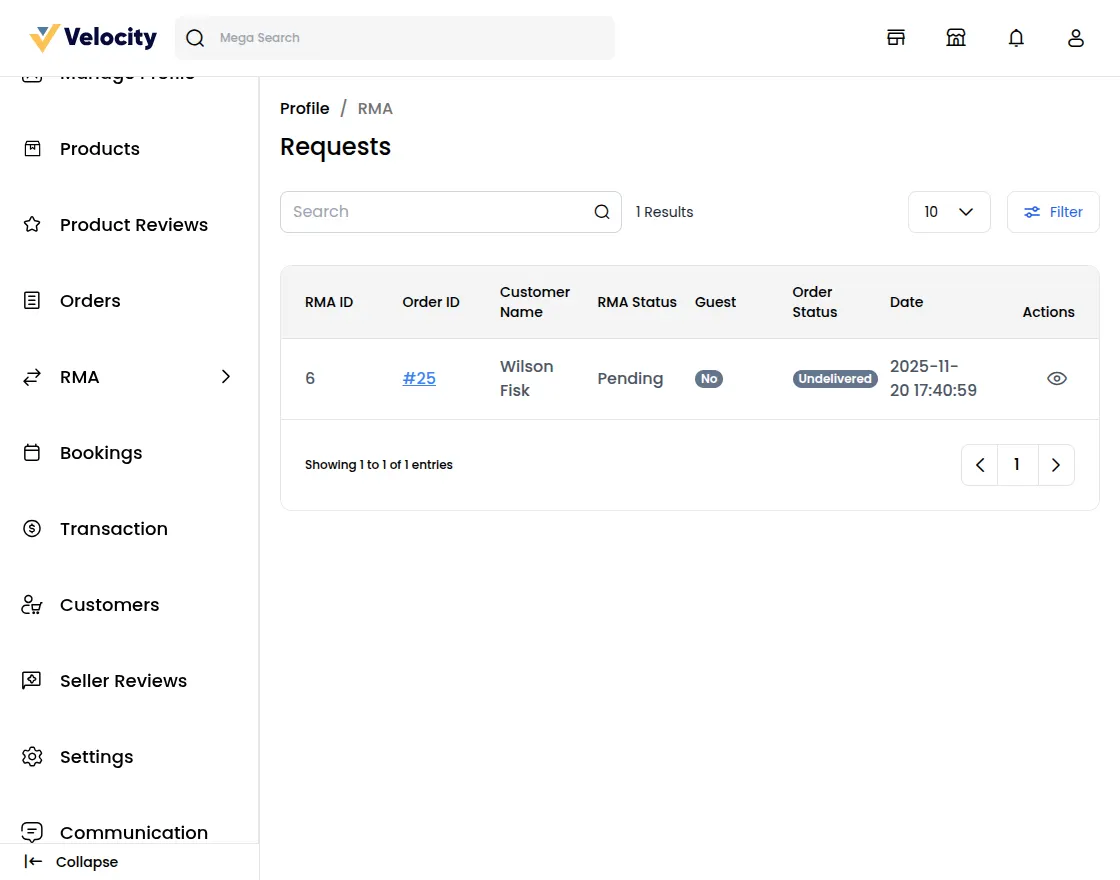
In this section, the seller can view the RMA request along with its RMA ID. To check complete RMA details, the seller needs to click on the view icon.
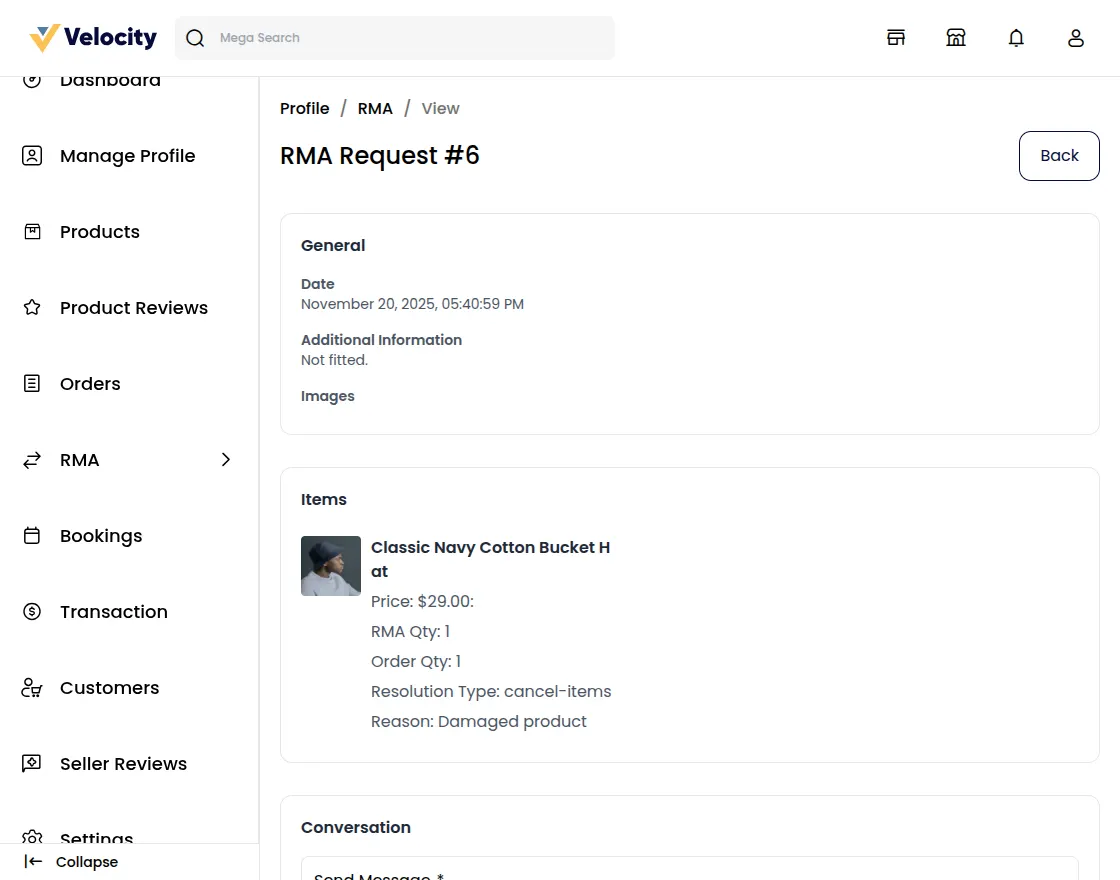
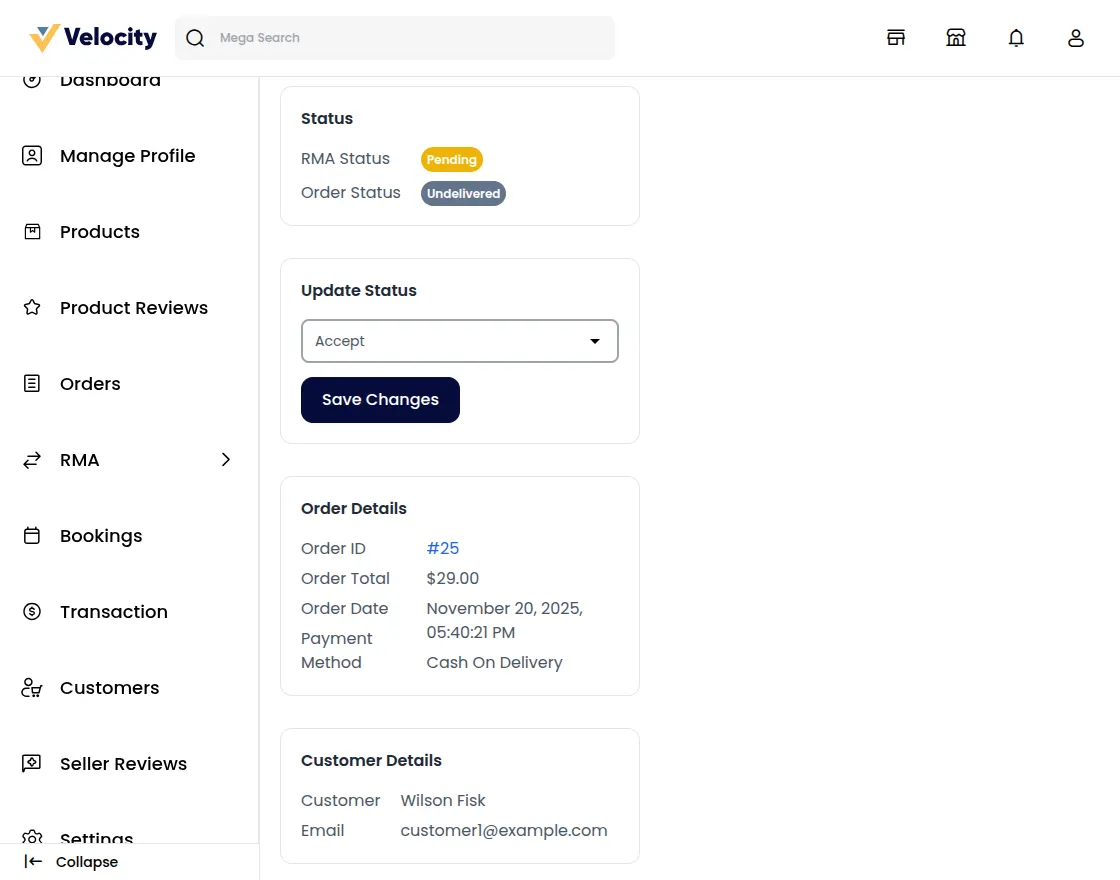
The Change RMA Status option, the seller can update the request status to Pending, Declined, or Item Cancelled.
Under Status Details, the seller can also view the current RMA Status and the associated Order Status.

RMA Status
When a customer or guest creates a new RMA request for product return, the default RMA status is set to Pending.
After reviewing the request, the seller can update the RMA status based on the resolution type selected by the customer or guest.
Refund
When the customer or guest selects Refund as the resolution type for a completed order, the seller can update the RMA status as follows:
1) RMA Request Accepted: If the RMA request is approved by the Admin, the seller can change the status to RMA Approved.
2) Package Received: Once the seller receives the returned product, the status can be updated to Received Package, and the refund process is initiated.
3) Declined: If the seller rejects the RMA request, this status can be selected.
4) Solved: After the refund is successfully completed and received by the customer or guest, the seller can mark the request as Solved.
Cancel Items
When the customer or guest selects Cancel as the resolution type for pending orders, the seller can use the following RMA statuses.
1) RMA Request Accepted: If the seller approves the RMA request, the status can be changed to RMA Approved.
2) Declined: If the seller rejects the cancellation request, this status can be selected.
3) Item Cancelled: Once the seller accepts the request and cancels the ordered item, this status can be applied.
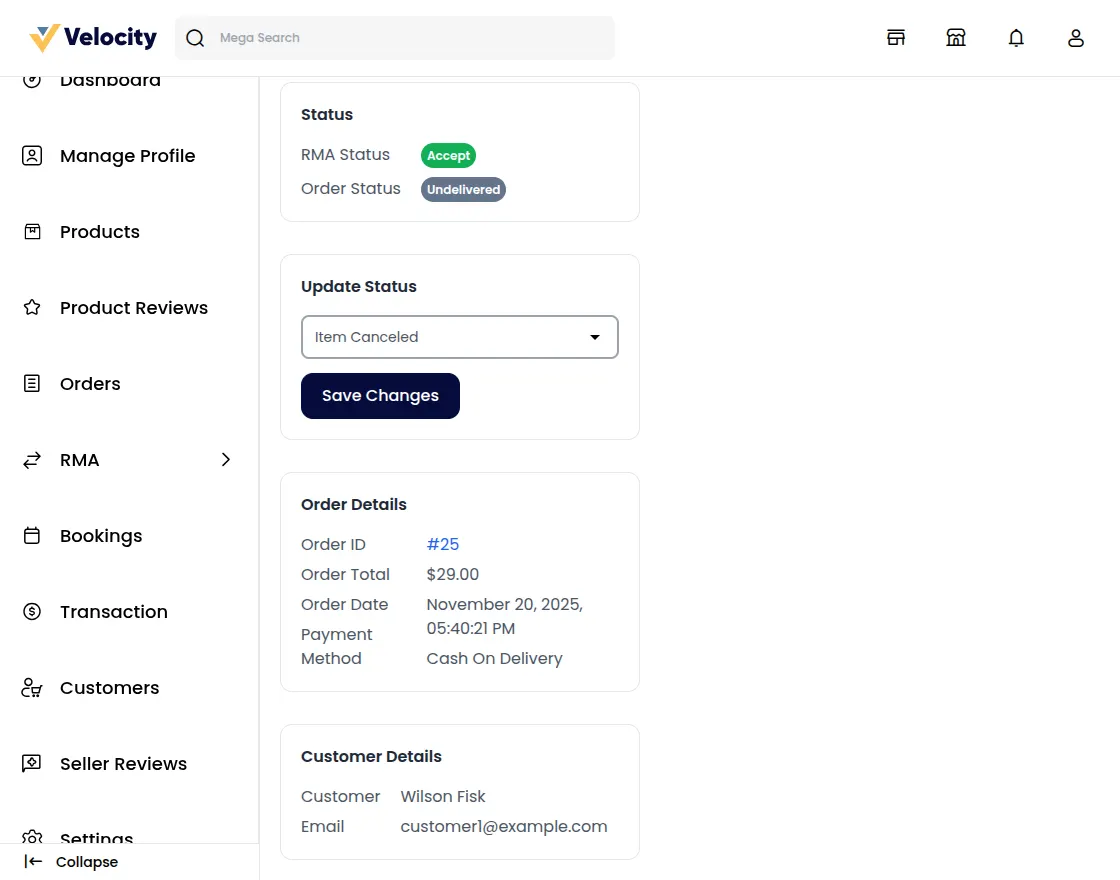
After selecting Item Cancelled and clicking Save Changes, the order is canceled automatically.
Exchange
When the customer or guest selects Exchange as the resolution type for pending orders, the seller can update the RMA status as follows:
1) RMA Request Accepted: If the seller approves the RMA request, the status can be changed to RMA Approved.
2) Package Dispatched: When the seller ships the replacement product to the customer or guest, this status can be used.
3) Declined: If the seller rejects the exchange request, this status can be selected.
4) Solved: After the customer or guest receives the exchanged product, the seller can mark the RMA as Solved.
Note: The same process is followed by the admin in the Admin -> Marketplace -> RMA section.
How to Create an RMA Request from the Storefront
First, the customer must log in to their account and place an order by completing the checkout process.
After the order is placed, if the customer wants to return, cancel, or exchange an item, they can follow the steps below.
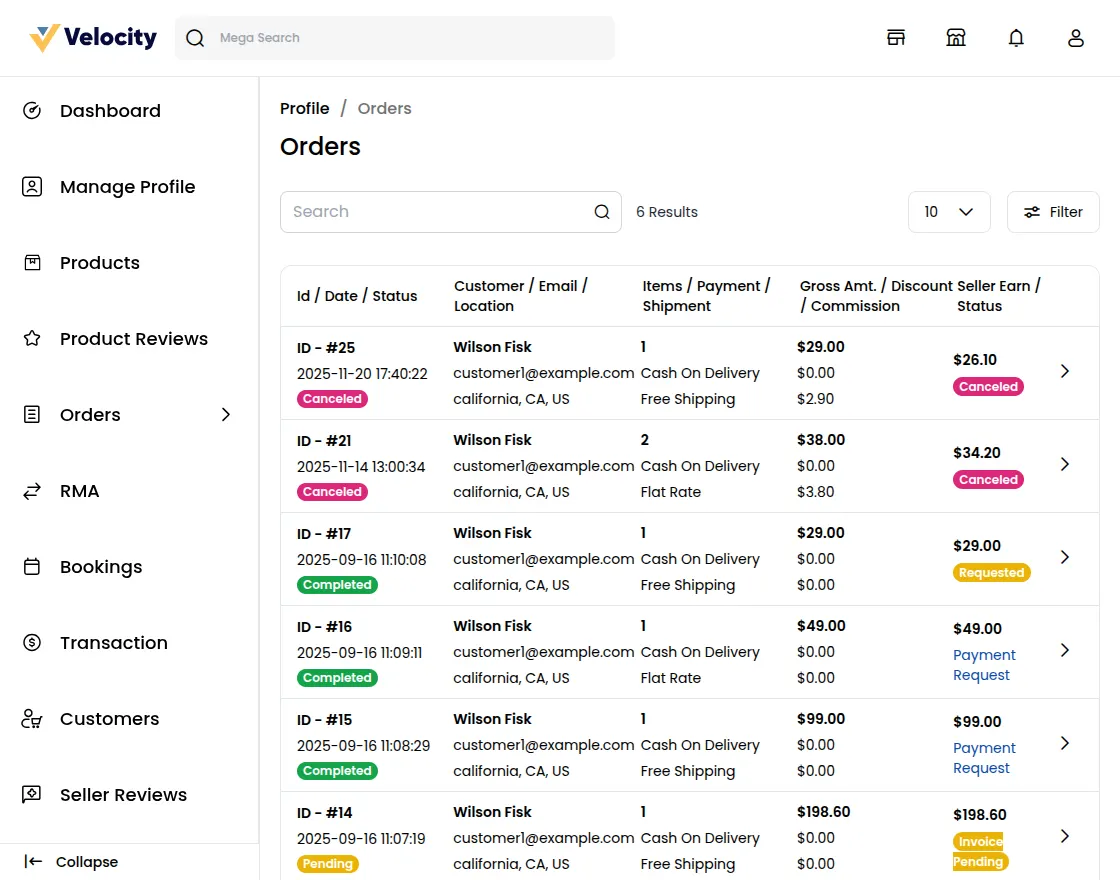
Step 1: Go to the Customer Profile -> RMA section.
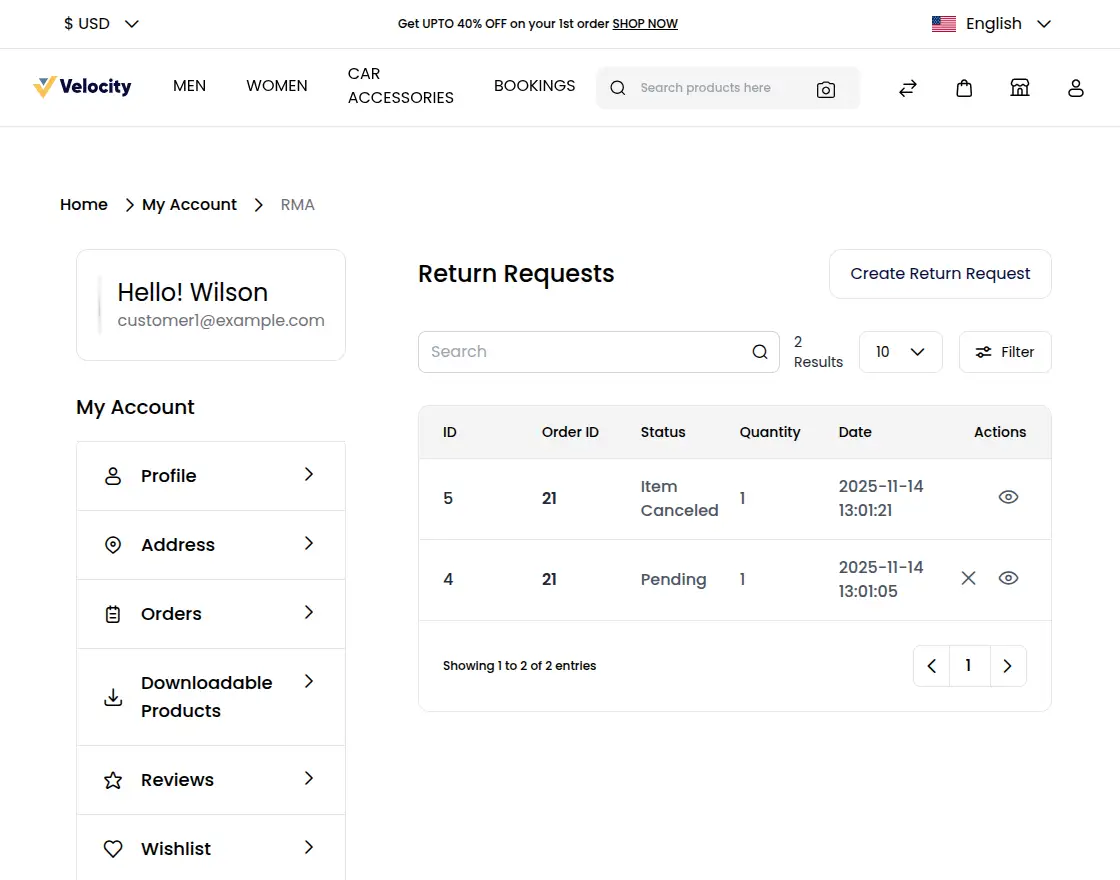
Step 2: Click on the Create Return Request button to start a new RMA request.
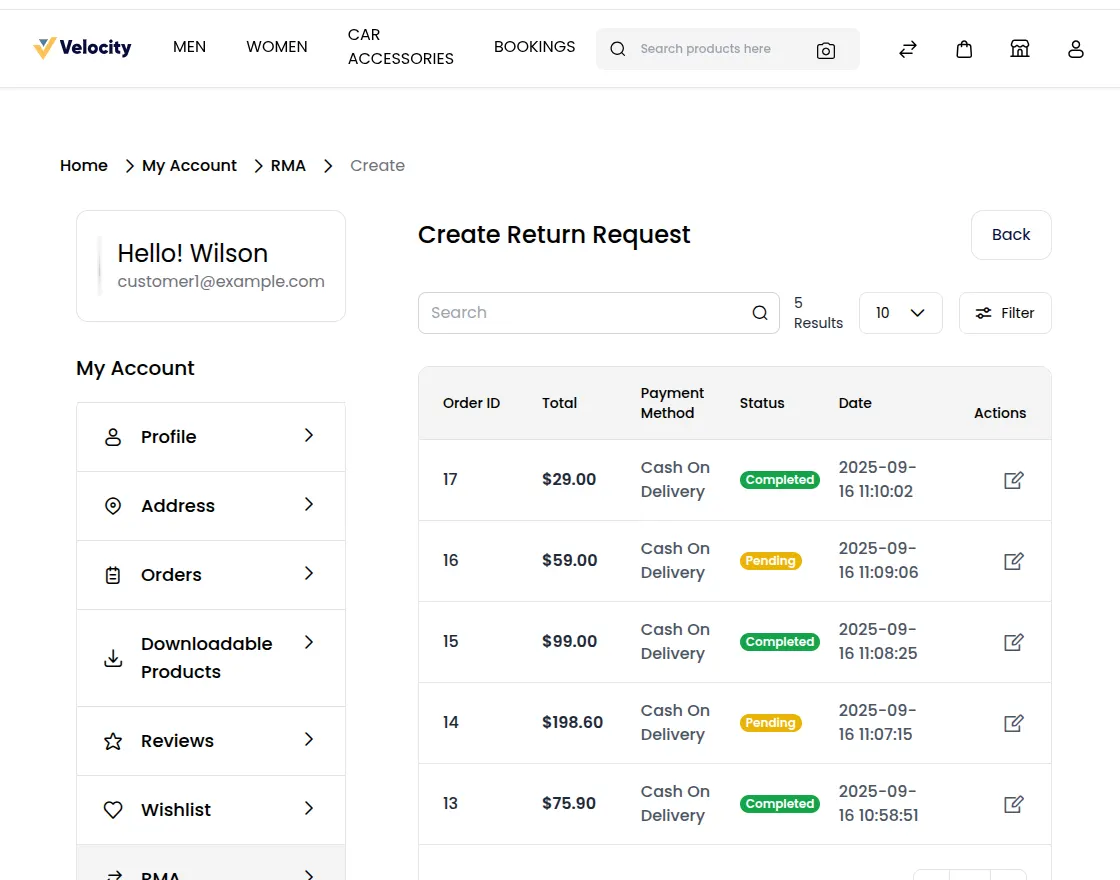
Step 3: Select the Order ID and click on the Action icon to proceed with the return or cancellation request.
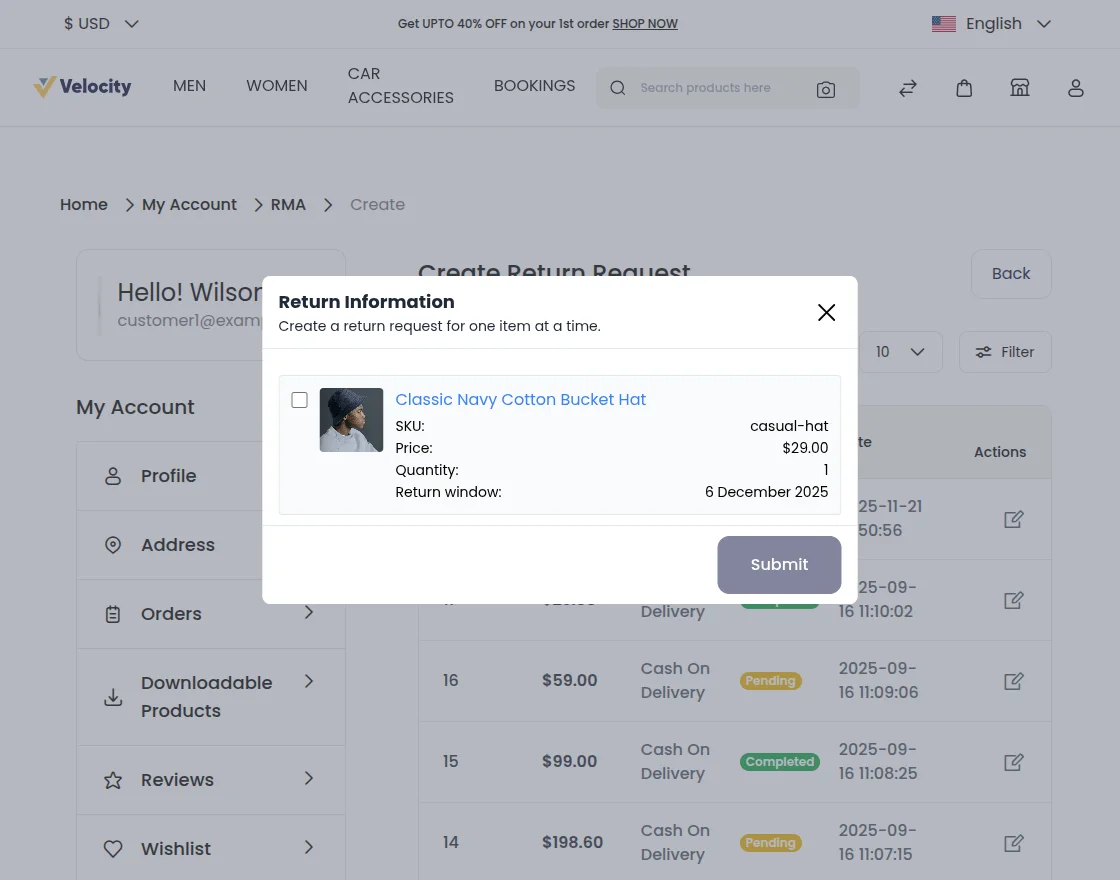
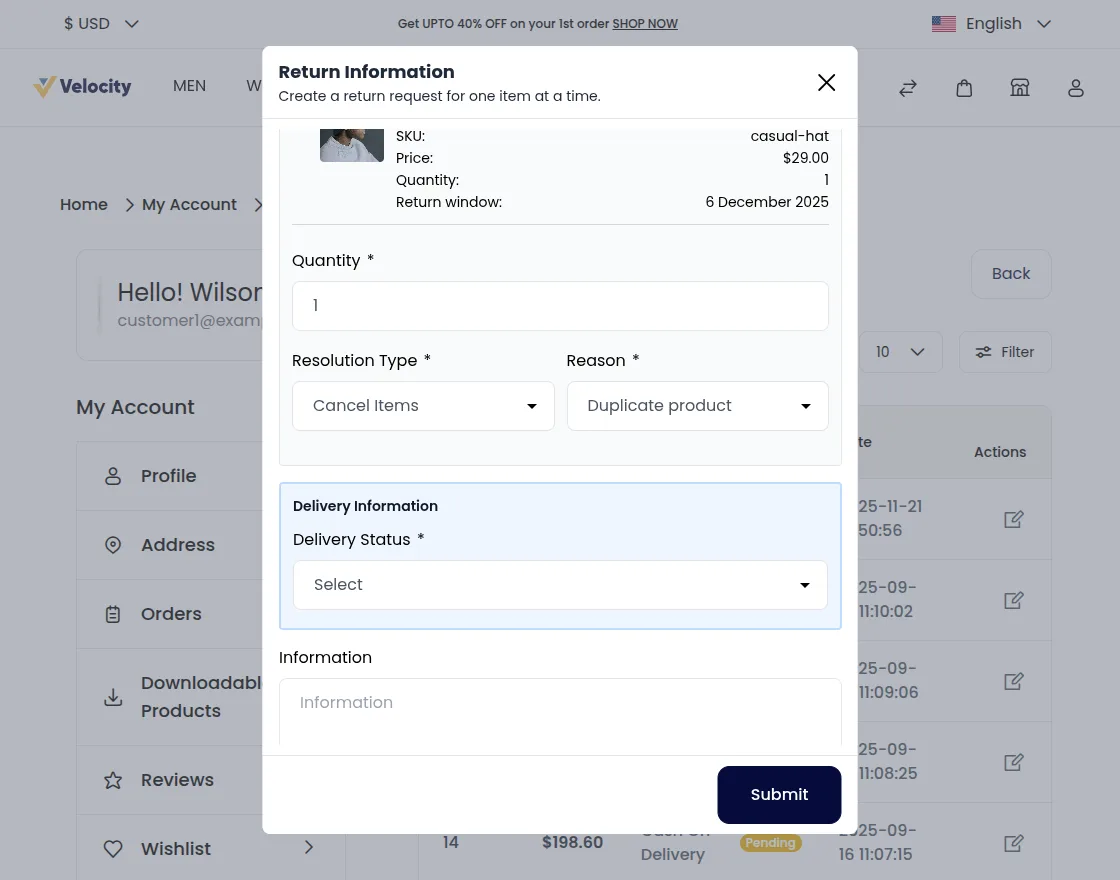
Step 4: Select the product by checking the box and enter the required details such as product quantity, resolution type, delivery information, and attachments.
Once the RMA request is submitted, it will be visible in the RMA section for further tracking and updates.

How to Create an RMA Request as a Guest
First, the guest places an order by completing the checkout process.
After the order is placed, the guest can log in using the Order ID and the email address used during checkout to create an RMA request.
Click on the profile icon and select the Guest Login option.
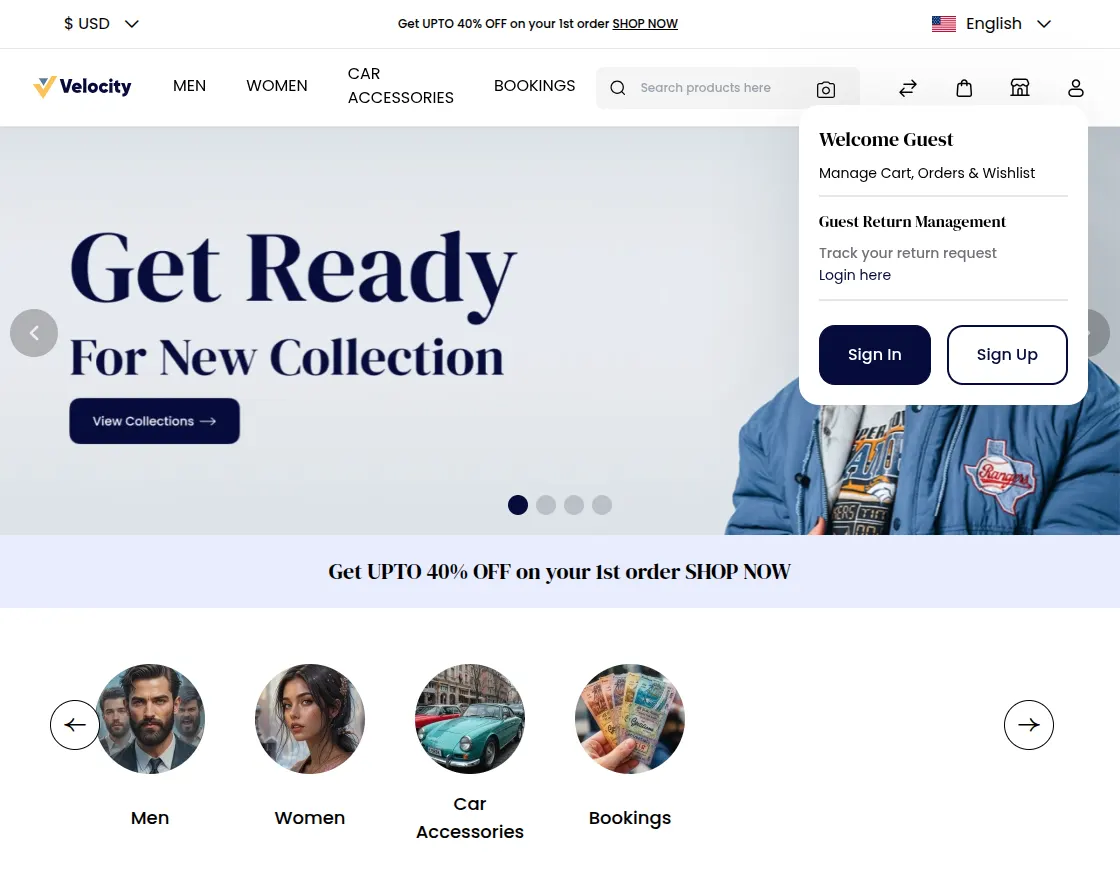
Guests can log in by clicking the Login Here button and entering their email address and Order ID.
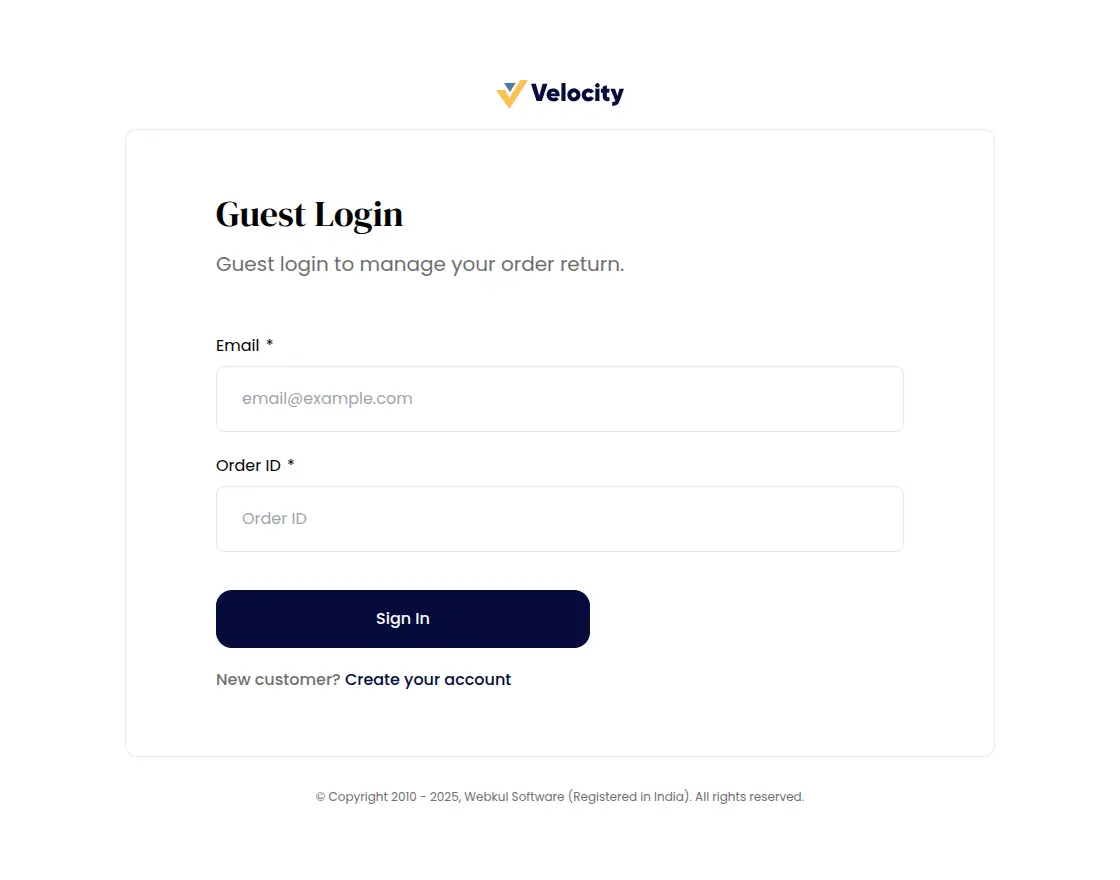
After signing in, the guest will be redirected to the RMA request page.
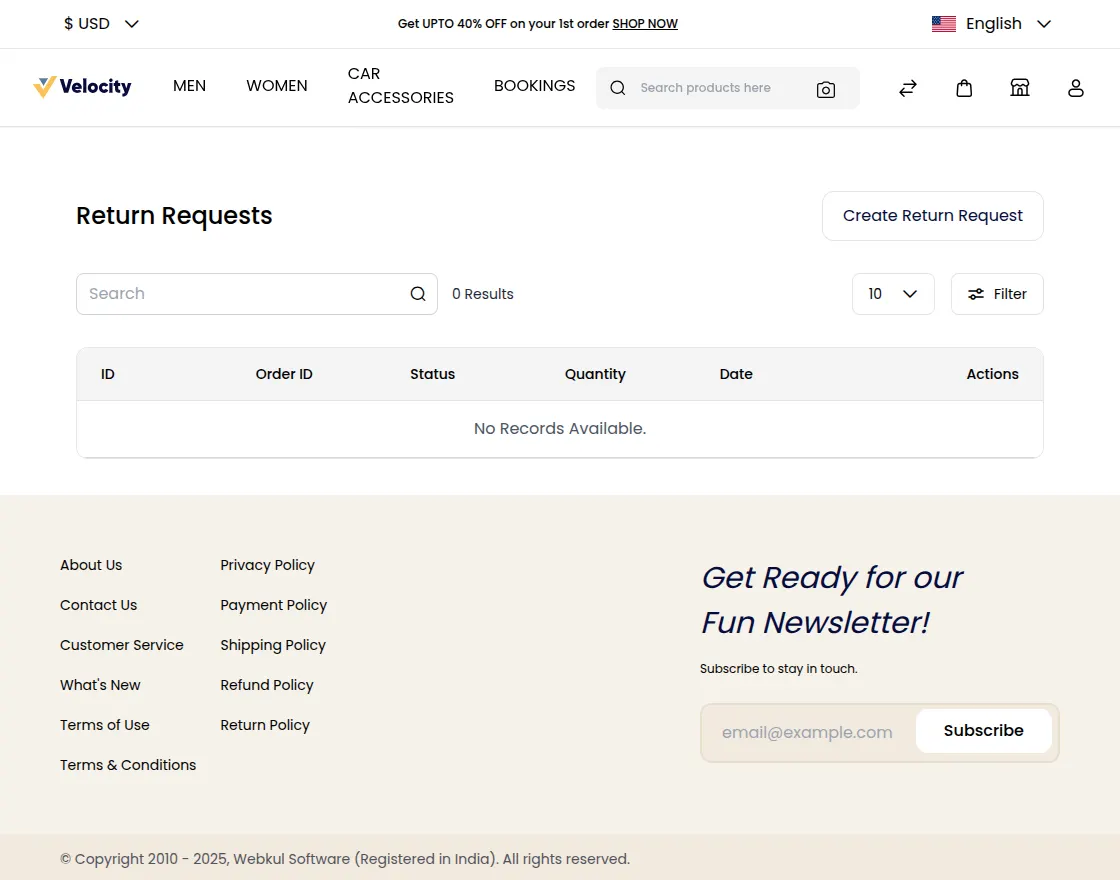
From here, the remaining steps to create an RMA request are the same as the customer process.