
Taxes
Bagisto adds tax to an order using two things you set up under Settings >> Taxes:
- Tax rates – the percentage charged in a location, such as 8.875% in New York.
- Tax categories – groups of tax rates that you assign to products.
Create your tax rates first, then a tax category that includes them, and then assign the category to your products. At checkout, Bagisto looks through the rates in each product's tax category and applies the one that matches the address.
How tax is calculated and displayed, such as which address is used and whether prices include tax, is set under Configure >> Sales >> Taxes.
Tax rates
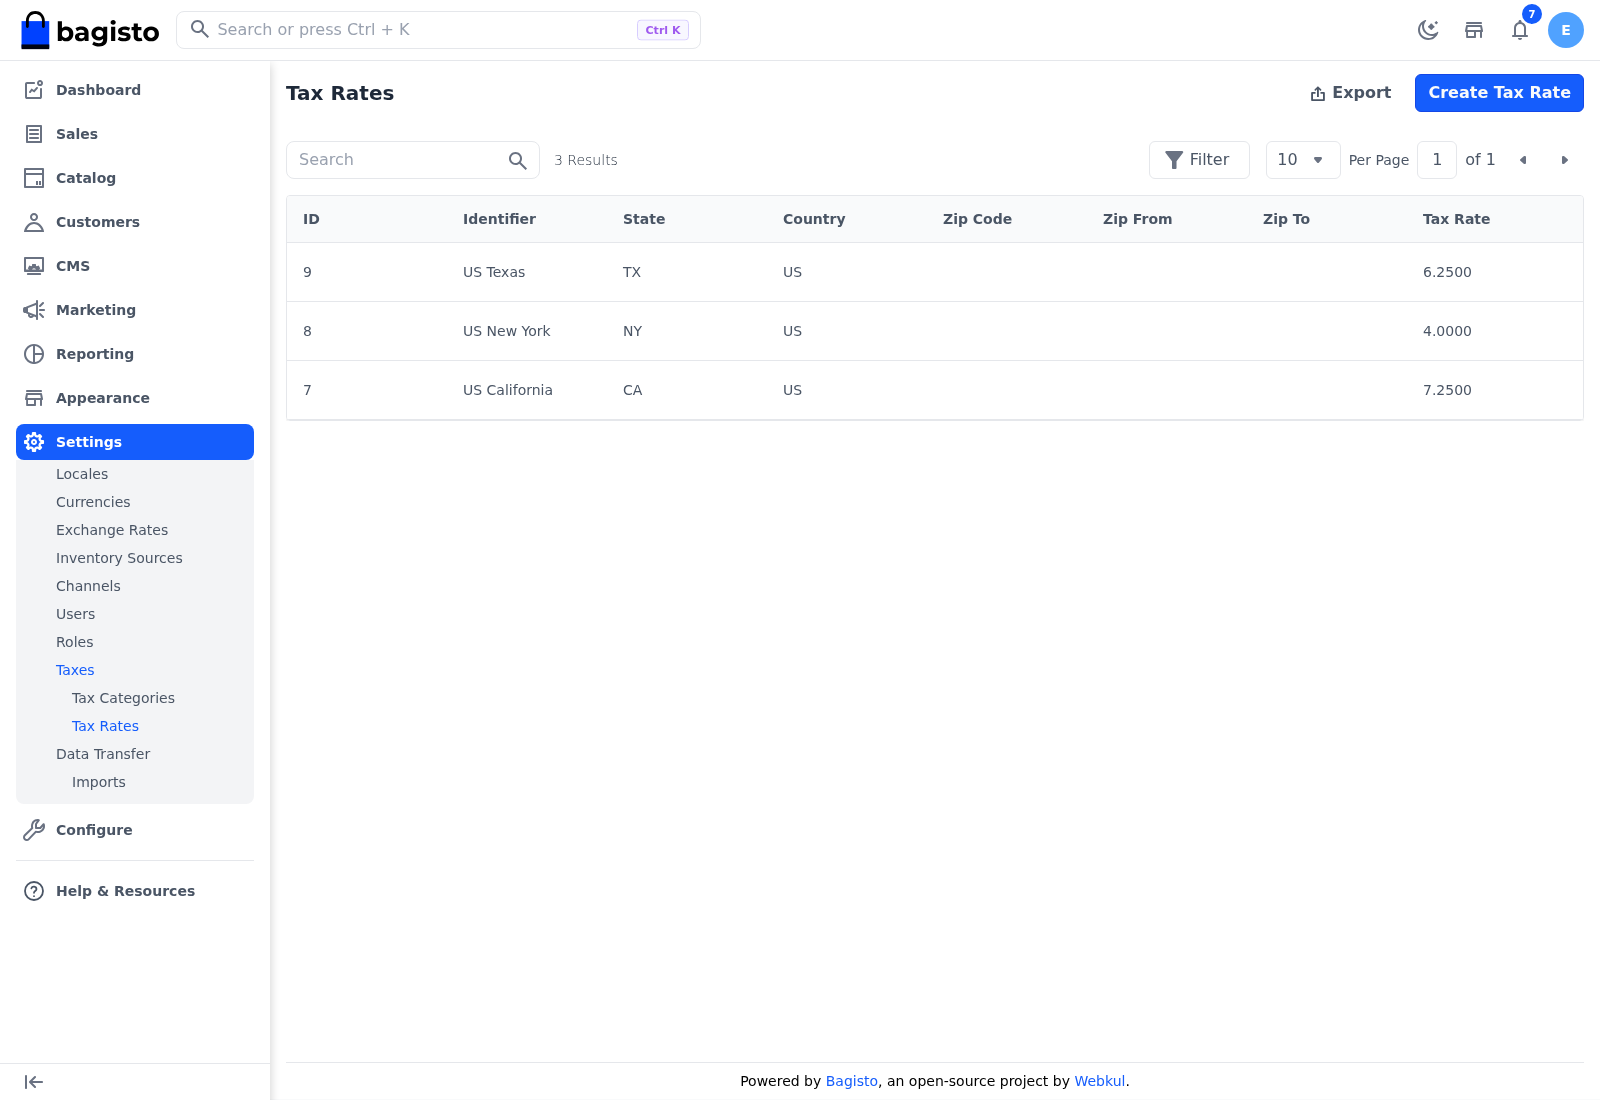
Go to Settings >> Taxes >> Tax Rates to see every rate with its ID, Identifier, State, Country, Zip Code, Zip From, Zip To and Tax Rate. A state shown as * means every state of the country. Click Export to download the list as a CSV, XLS or XLSX file.
To add many rates at once, import them from a file. See Data Transfer.
Create a tax rate
Go to Settings >> Taxes >> Tax Rates.
Click Create Tax Rate.
Enter an Identifier, such as
US-WA-Seattle.Choose the Country.
Choose the State, or leave it empty to use the rate in the whole country.
Enter the Rate as a percentage, such as
10.25.In Settings, leave Enable Zip Range off to use one postcode, or switch it on to use a range of postcodes. With it on, Zip From and Zip To replace Zip Code.
Enter the Zip Code, or leave it empty to use the rate for every postcode. For a range, enter the Zip From and Zip To instead.
Click Save Tax Rate.
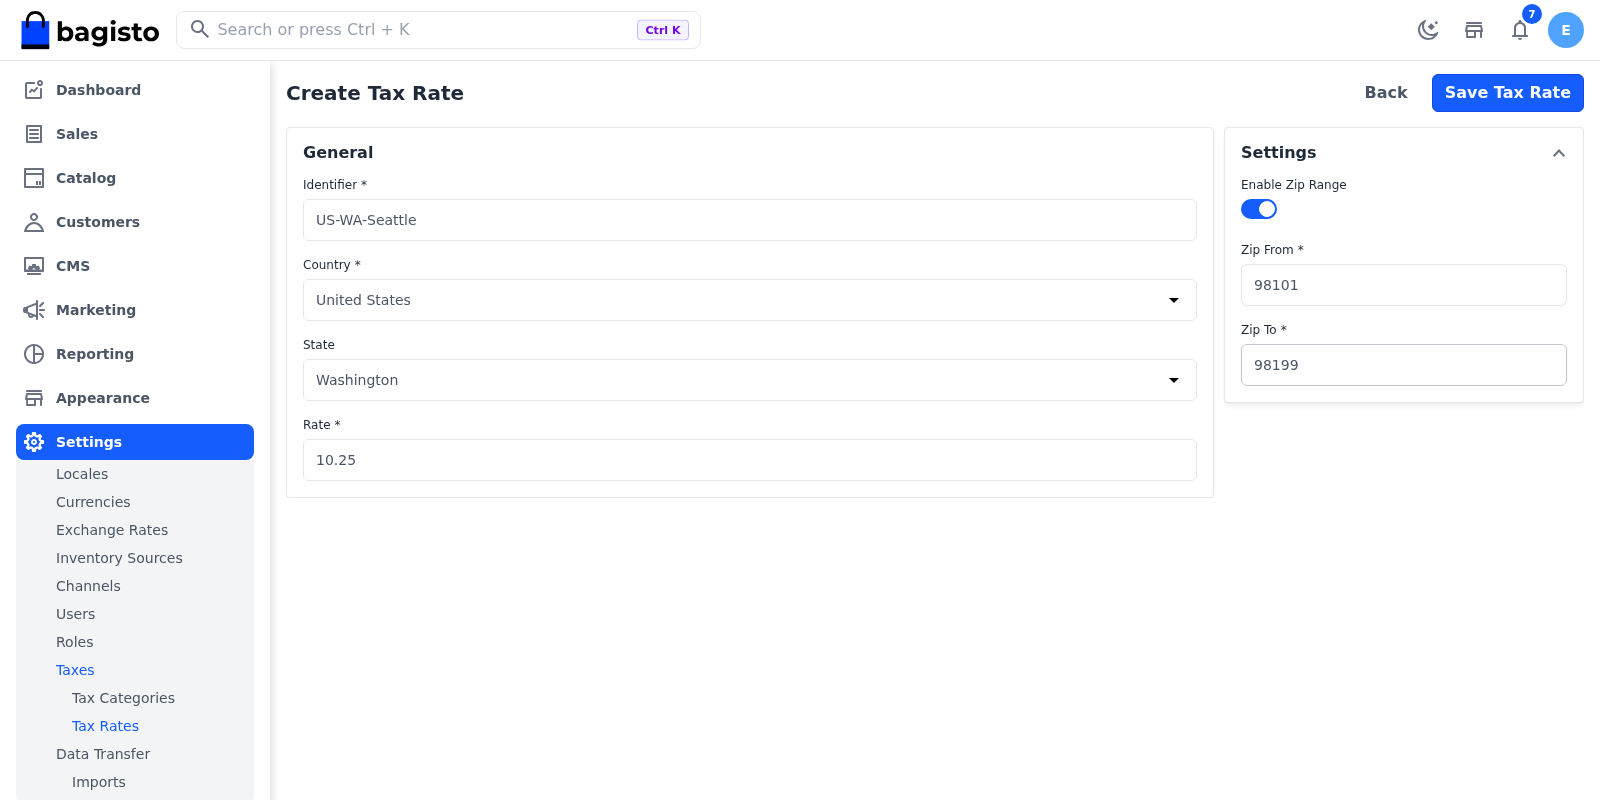
You return to Tax Rates, where the message Tax rate created successfully. appears and the new rate is listed.
| Field | What it does |
|---|---|
| Identifier | A unique name for the rate. Pick one that tells you the location, such as US-NY. |
| Country | The country the rate applies to. |
| State | The state the rate applies to. Leave it empty to apply the rate in every state of the country. For a country without a list of states, type the state as it's written in customers' addresses. |
| Rate | The tax percentage, from 0 to 100. It's saved with four decimals. |
| Enable Zip Range | Turn on to apply the rate to a range of postcodes instead of one. |
| Zip Code | A single postcode the rate applies to, shown while Enable Zip Range is off. The postcode must match exactly. Leave it empty, or enter *, to apply the rate to every postcode. |
| Zip From and Zip To | The first and last postcode of the range. Both are required when Enable Zip Range is on. Postcodes made only of numbers are compared as numbers; others are compared letter by letter. |
Enable Zip Range can't be changed once the rate is saved. To switch a rate between a single postcode and a range:
- Create a new rate with a different Identifier.
- Add the new rate to the tax categories that use the old one.
- Delete the old rate.
Which rate is applied
For each product, Bagisto takes the rates in the product's tax category and keeps those that match the address:
- The Country must be the address's country.
- The State must be the address's state, or be empty.
- The postcode must equal the Zip Code, or fall between Zip From and Zip To. An empty Zip Code matches every postcode.
If several rates match, only the highest one is applied. Rates in a category are never added together, so put a combined rate, such as state plus city tax, in one rate.
If the address has no country, no tax is added. Which address is used, the shipping address, the billing address or your shipping origin, is set in Calculation Based On under Configure >> Sales >> Taxes. Until the customer enters an address, their default address is used, or the Default Destination Calculation set on the same screen. With Shipping Address, items that aren't shipped use the billing address.
Edit or delete a tax rate
To edit a rate:
- Go to Settings >> Taxes >> Tax Rates.
- Click the edit icon of the rate.
- Make your changes.
- Click Save Tax Rate.
The message Tax Rate Update Successfully appears.
To remove a rate:
- Go to Settings >> Taxes >> Tax Rates.
- Click the delete icon of the rate.
- Click Agree to confirm.
The rate is also removed from every tax category that uses it.
Tax categories
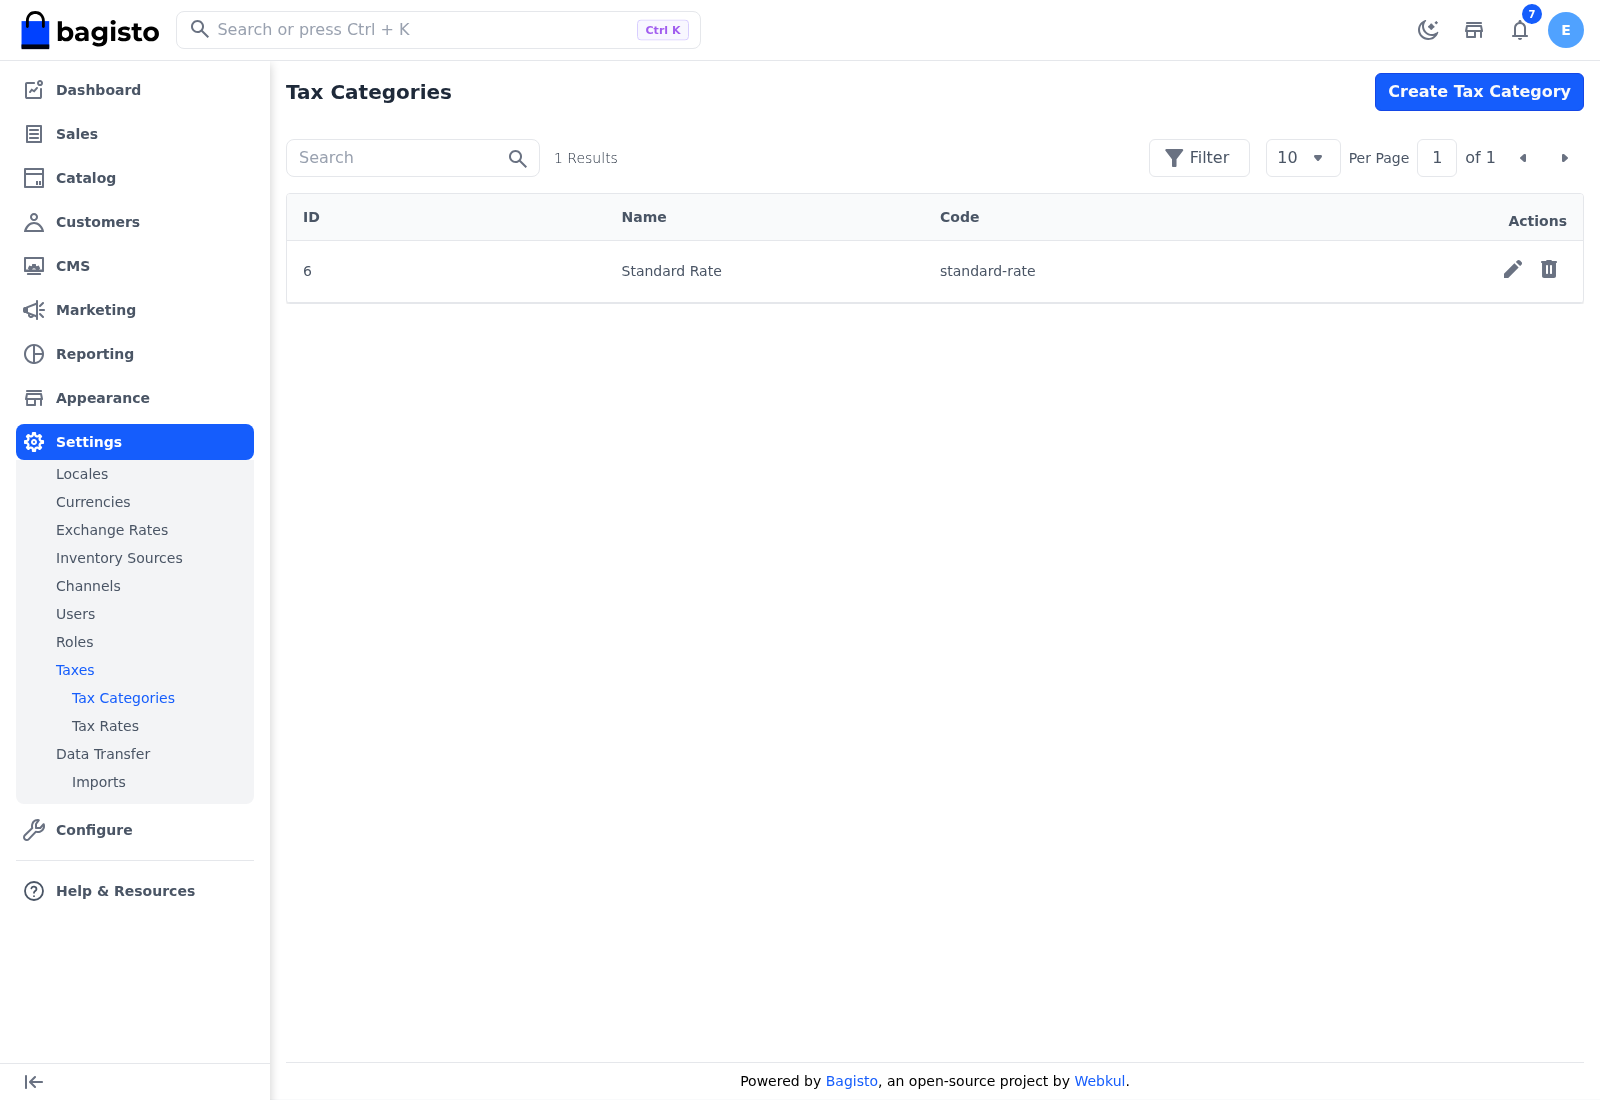
Go to Settings >> Taxes >> Tax Categories to see every category with its ID, Name and Code.
Create a tax category
Go to Settings >> Taxes >> Tax Categories.
Click Create Tax Category. The Create Tax Category form opens.
Enter a Code, such as
standard-rate. The code must be unique.Enter the Name and Description.
In Tax Rates, select the rates this category uses. To select more than one, hold Ctrl (⌘ on a Mac) while you click.
Click Save Tax Category.
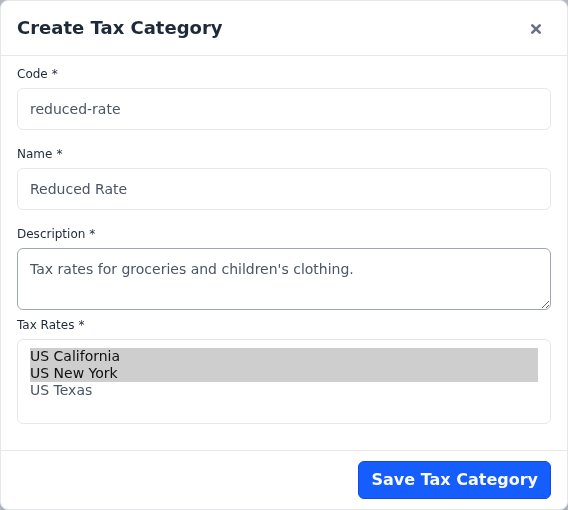
The message Tax category created successfully. appears and the new category is listed.
Every field is required, and a category needs at least one tax rate. If there are no tax rates yet, the form shows Tax Rates are not available please create new Tax Rates. with an Add Tax Rates link, and you can't save until you create one. Add Tax Rates opens in a new tab. After you create the rate, reload Tax Categories to see it.
Edit or delete a tax category
To edit a category:
- Go to Settings >> Taxes >> Tax Categories.
- Click the edit icon of the category. The Edit Tax Categories form opens.
- Make your changes.
- Click Save Tax Category.
The message Tax category updated successfully. appears.
To remove a category:
- Go to Settings >> Taxes >> Tax Categories.
- Click the delete icon of the category.
- Click Agree to confirm.
Move products before you delete a category
A tax category can be deleted even while products use it. Those products are then charged no tax, and the Product Default Tax Category isn't used for them. Give the products another tax category first.
Also, before you delete a category chosen as Product Default Tax Category or Shipping Tax Category under Configure >> Sales >> Taxes, choose another category there.
Assign the tax category to products
Go to Catalog >> Products.
Open the product.
In General, choose the Tax Category.
Click Save Product.
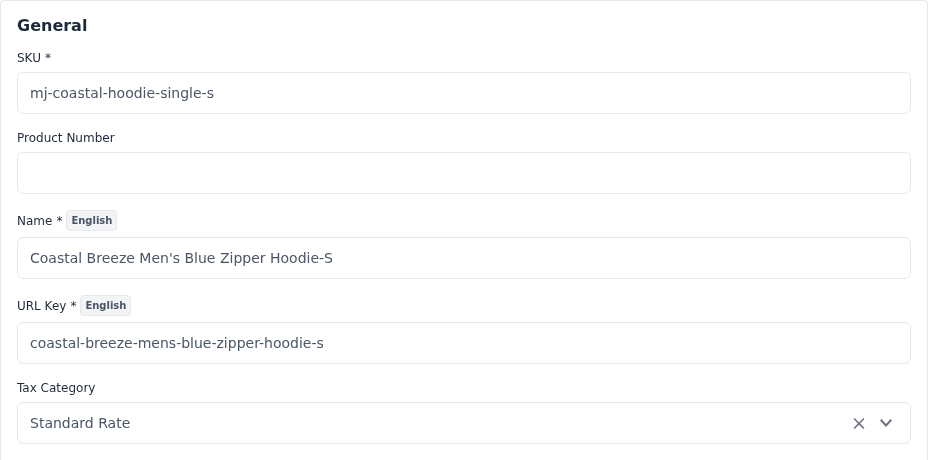
Products that don't have a tax category of their own use the Product Default Tax Category chosen under Configure >> Sales >> Taxes, so set it to the category most of your products use. Shipping is taxed with the Shipping Tax Category chosen on the same screen.