B2B Suite Configuration
Before companies can use any B2B feature, the B2B Suite must be enabled and configured from the admin panel. All B2B settings are grouped together so you can control company onboarding, quotations, company credit and email notifications from a single place.
Navigate to Admin Panel → Configure → B2B Suite.
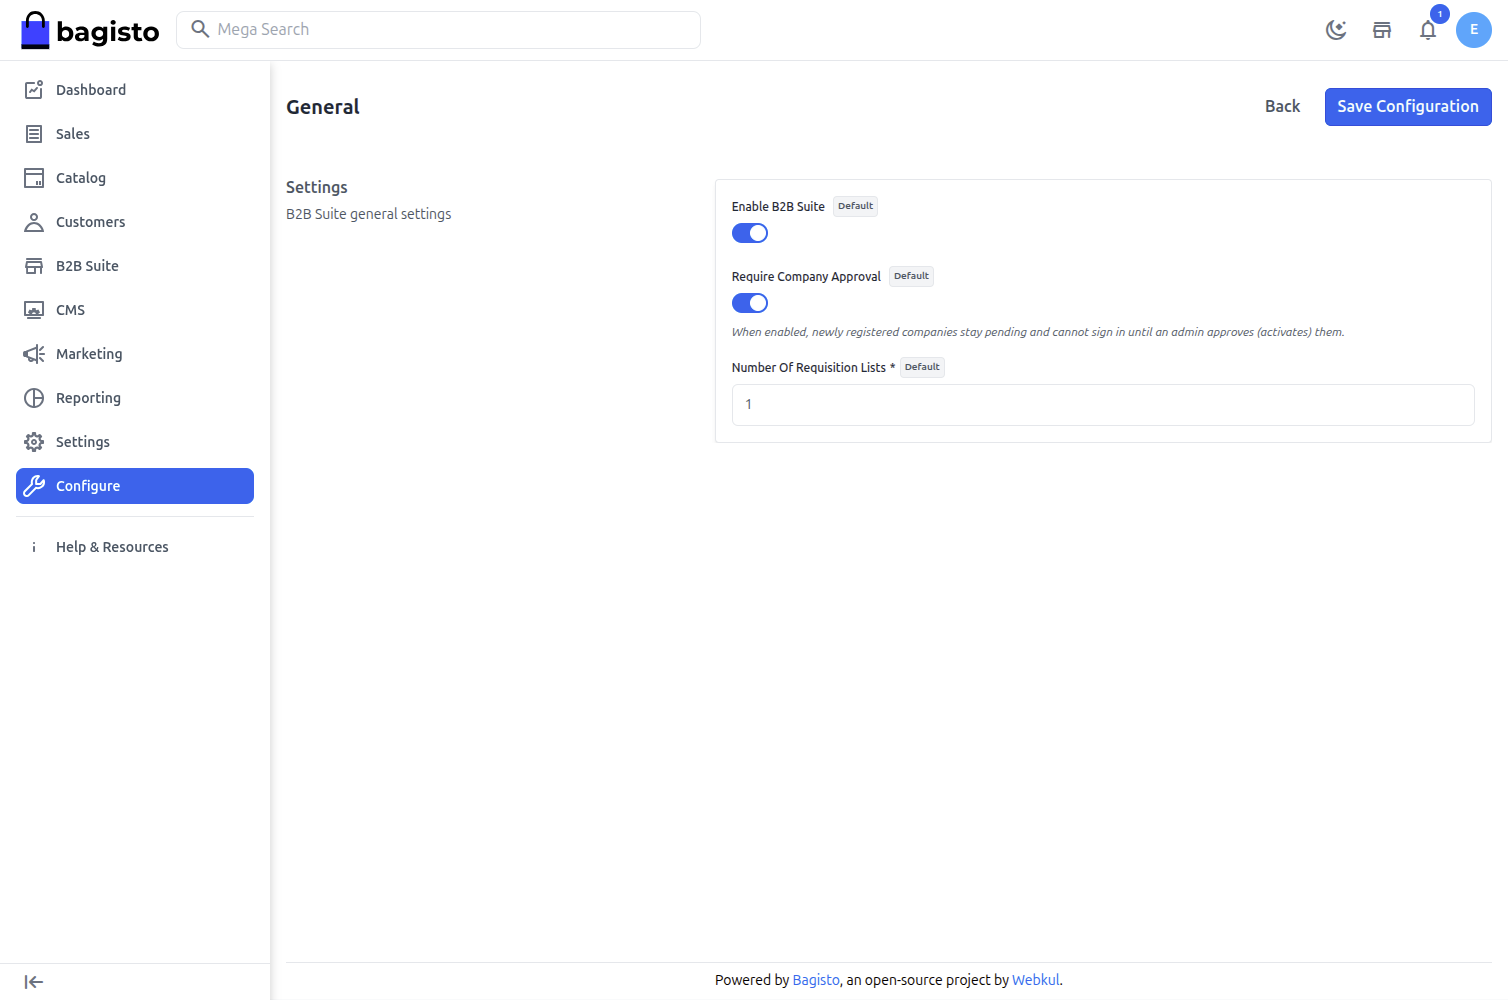
General
The General section controls the core behavior of the suite.
1) Enable B2B Suite – Master switch for the entire suite. When disabled, all B2B routes, menus, the company registration option and every company-specific feature are hidden from the storefront and admin.
2) Require Company Approval – When enabled, newly registered companies remain in a Pending state and cannot sign in until an administrator approves (activates) them. When disabled, companies can sign in immediately after registering.
3) Number Of Requisition Lists – The maximum number of requisition lists each company is allowed to create.
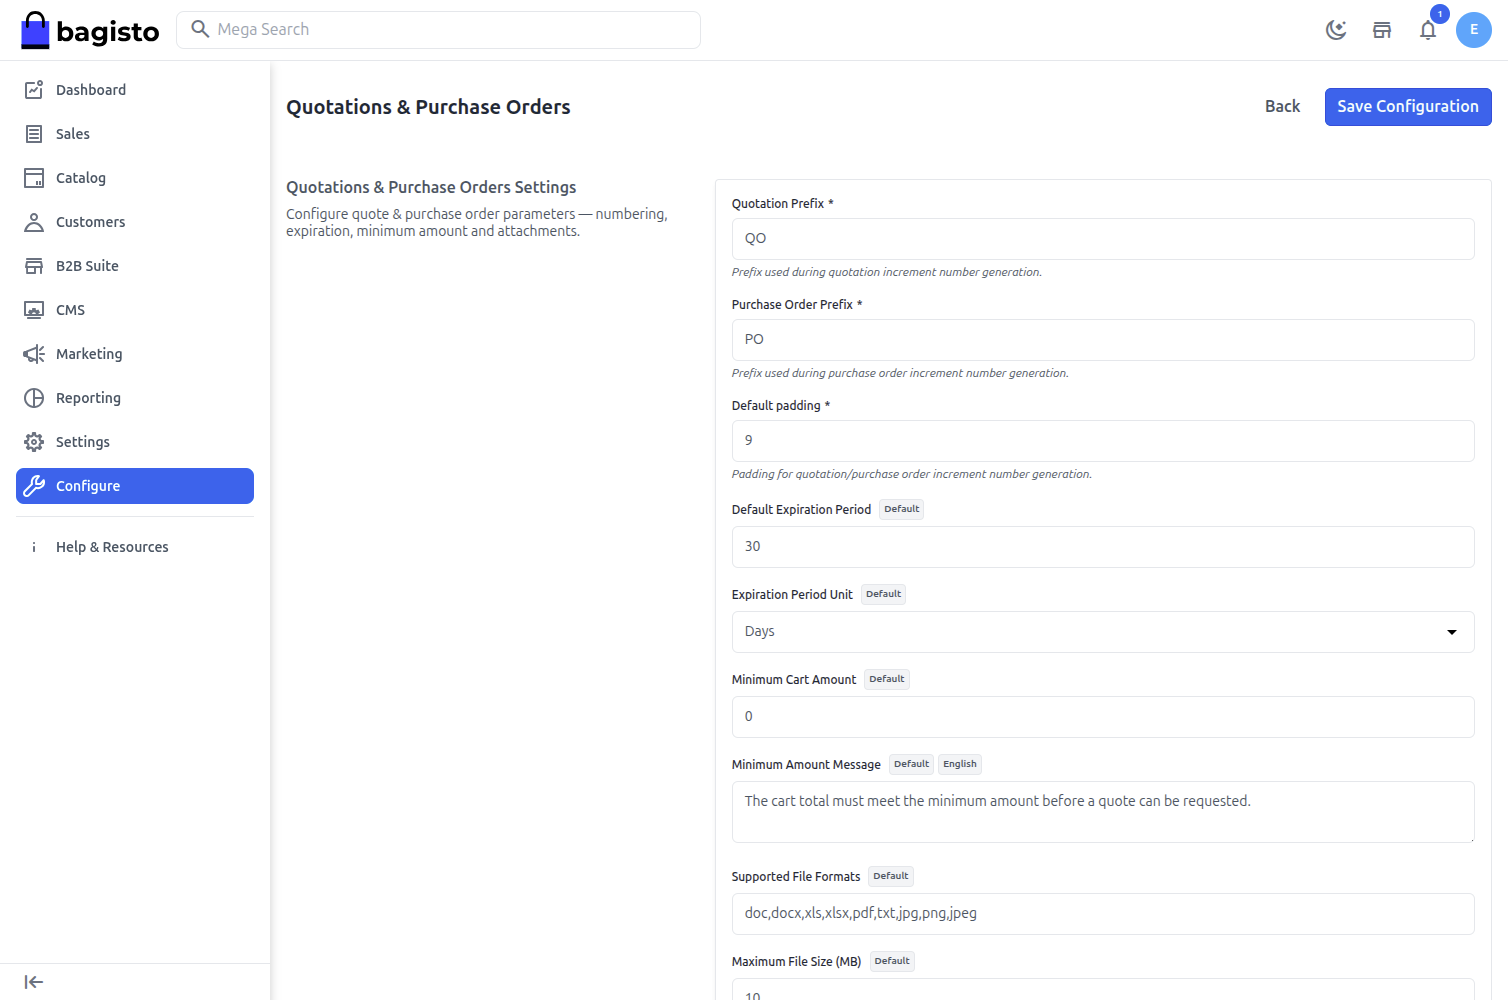
Quotations & Purchase Orders
This section configures how quotations and purchase orders are numbered, when they expire, and what attachments buyers can upload.
1) Quotation Prefix – Prefix used when generating quotation numbers (default QO).
2) Purchase Order Prefix – Prefix used when generating purchase order numbers (default PO).
3) Default Padding – Zero-padding applied to the auto-incrementing quotation / purchase order number.
4) Default Expiration Period – How long a quotation stays valid.
5) Expiration Period Unit – The unit for the expiration period — Days, Weeks or Months.
6) Minimum Cart Amount – The minimum cart total required before a customer can request a quote. Set to 0 to allow any amount.
7) Minimum Amount Message – The message shown to the customer when the cart total is below the minimum required amount.
8) Supported File Formats – Comma-separated list of file extensions buyers may attach to a quotation (e.g. doc, docx, xls, xlsx, pdf, txt, jpg, png, jpeg).
9) Maximum File Size (MB) – The maximum size allowed for an uploaded attachment.
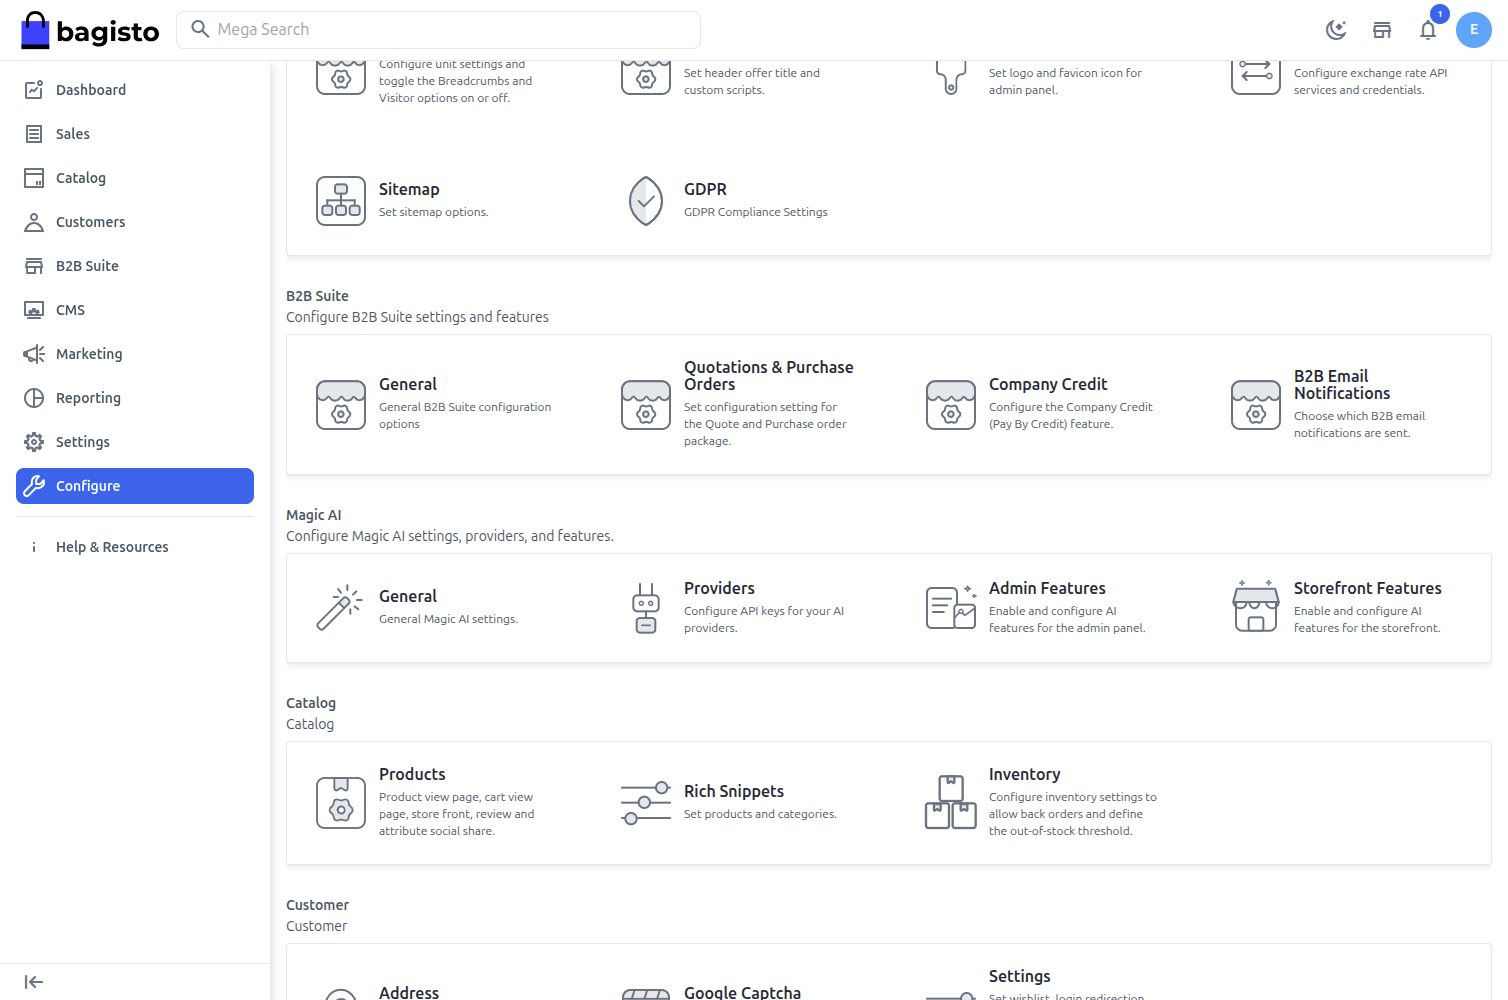
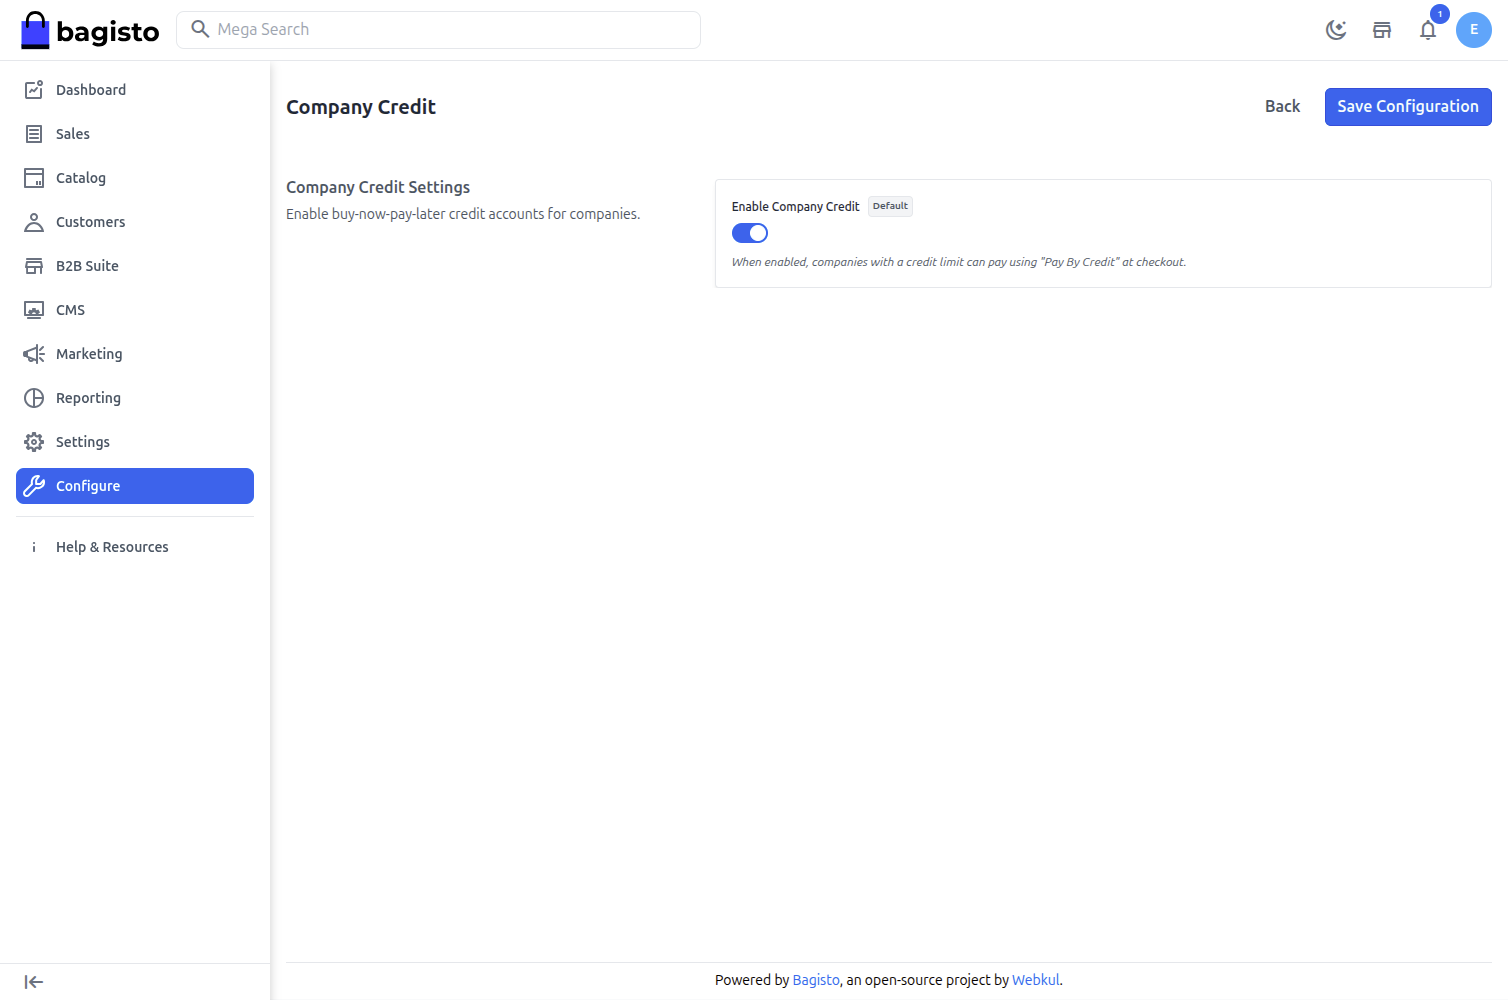
Company Credit
Enable Company Credit – When enabled, companies that have an assigned credit limit can pay using the Pay By Credit method at checkout. See the Company Credit guide for the full workflow.
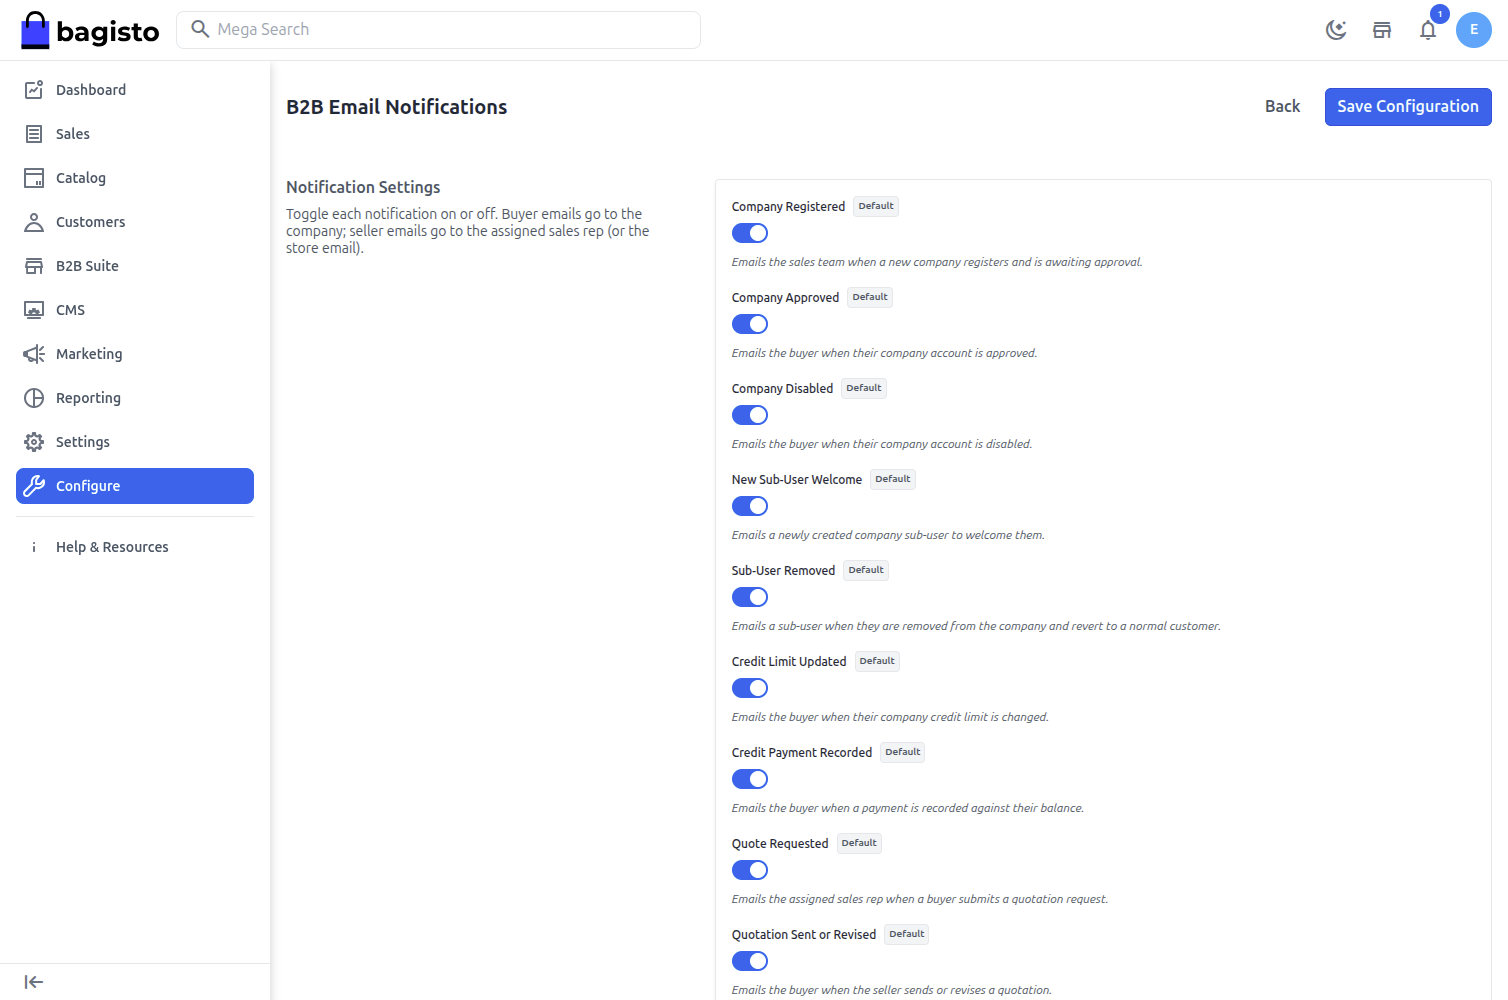
B2B Email Notifications
The suite sends transactional emails throughout the B2B lifecycle. Each notification has its own toggle, and all are enabled by default. Buyer emails are sent to the company, while seller emails go to the company's assigned sales representative (or the store email if none is assigned).
Available notifications include:
- Company Registered – Notifies the sales team when a new company registers and is awaiting approval.
- Company Approved – Notifies the buyer when their company account is approved.
- Company Disabled – Notifies the buyer when their company account is disabled.
- New Sub-User Welcome – Welcomes a newly created company sub-user.
- Sub-User Removed – Notifies a sub-user when they are removed from the company.
- Credit Limit Updated – Notifies the buyer when their company credit limit changes.
- Credit Payment Recorded – Notifies the buyer when a payment is recorded against their balance.
- Quote Requested – Notifies the assigned sales rep when a buyer submits a quotation request.
- Quotation Sent or Revised – Notifies the buyer when the seller sends or revises a quotation.
- Quote Counter-Offer – Notifies the sales rep when the buyer responds with a counter-offer.
- New Negotiation Message – Notifies the other party when a new message is posted in the negotiation thread.
- Quote Accepted / Quote Rejected – Notifies the other party when a quotation is accepted or rejected.
- Quote Converted to Order – Notifies the buyer when their quotation becomes an order.
- Purchase Order Placed – Notifies the sales rep when a purchase order is placed.
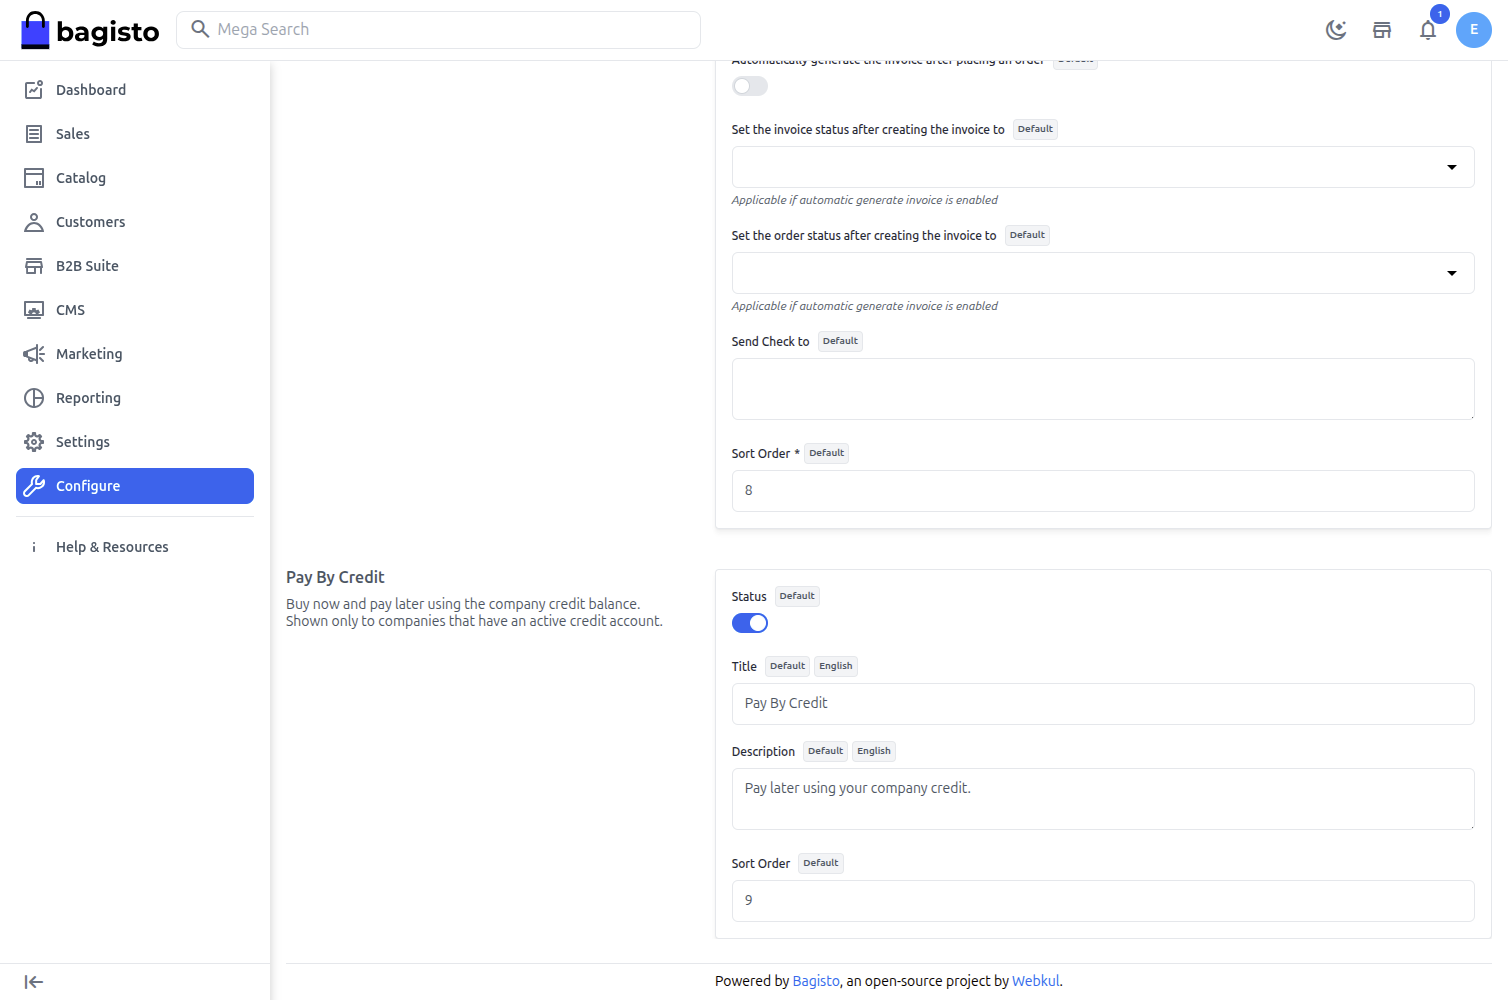
Pay By Credit Payment Method
The Pay By Credit payment method is configured under Admin Panel → Configure → Sales → Payment Methods → Pay By Credit. It is shown at checkout only to companies that have an active credit account.
1) Status – Enable or disable the payment method.
2) Title – The label shown to the customer at checkout (default Pay By Credit).
3) Description – A short description shown beneath the title.
4) Sort Order – The position of the method in the checkout payment list.