
Customer Groups
A customer group sorts your customers so you can price and promote to them differently, for example to give trade customers lower prices. Every customer belongs to one group, and shoppers who aren't signed in are treated as the Guest group.
What groups are used for
- Customer group prices: lower prices on a product for a group, for larger quantities, or both. See Customer Group Pricing.
- Cart rules: a cart rule's discount applies only to the Customer Groups you tick on the rule. See Cart Rules.
- Catalog rules: a catalog rule's discounted price applies only to the Customer Groups you choose on the rule. See Catalog Rules.
The default groups
Bagisto comes with three groups:
| Group | Code | Who's in it |
|---|---|---|
| Guest | guest | Shoppers who aren't signed in. You can't choose it for a customer in the admin panel. |
| General | general | Customers who sign up on the storefront, unless you choose another group for new accounts. |
| Wholesale | wholesale | Nobody, until you move customers into it, for example your trade customers. |
You can rename the default groups, but you can't delete them.
Keep the codes of the default groups
The storefront finds the group for new accounts by its code. Change a default group's Name if you like, but leave its Code as it is.
The groups list
Go to Customers >> Groups.
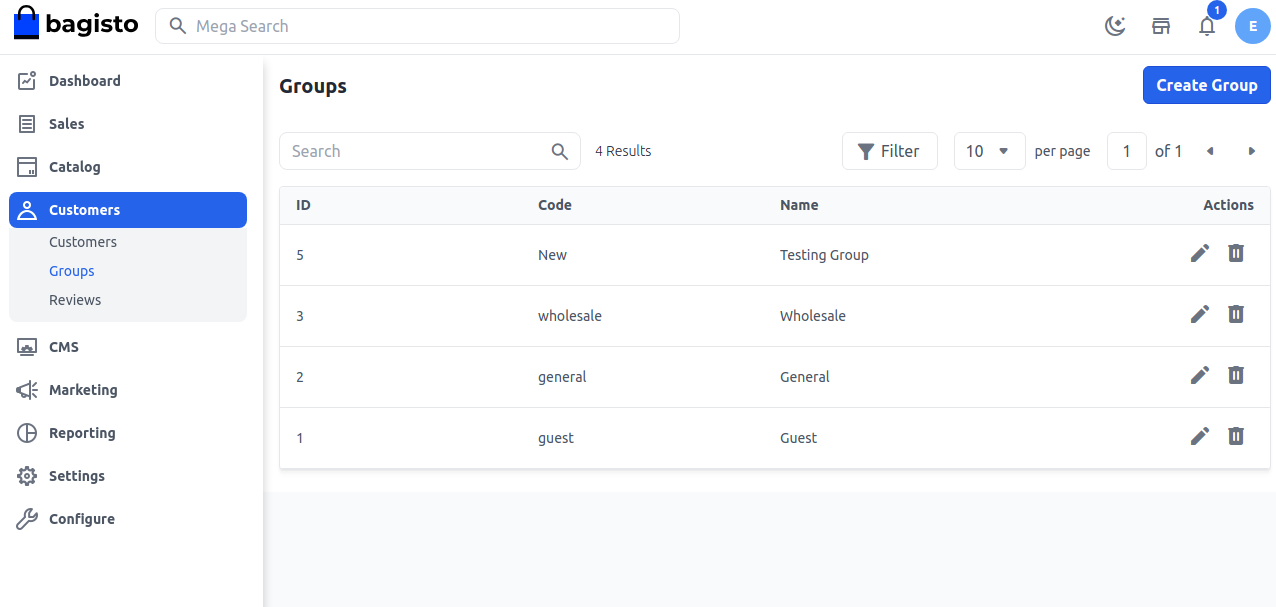
The list shows each group's ID, Code and Name.
- Search: type in the search box to find groups by name.
- Filter: click Filter and filter by ID, Code or Name.
- Sort: click ID, Code or Name in the header row.
- Edit (the pencil) and Delete (the bin) are at the end of each row.
Create a group
Go to Customers >> Groups.
Click Create Group. The Create new Group dialog opens.
Enter the Code, a unique identifier such as
retail_club. It must start with a letter and can contain letters, numbers and underscores.Enter the Name, which the admin panel shows wherever you choose a group.
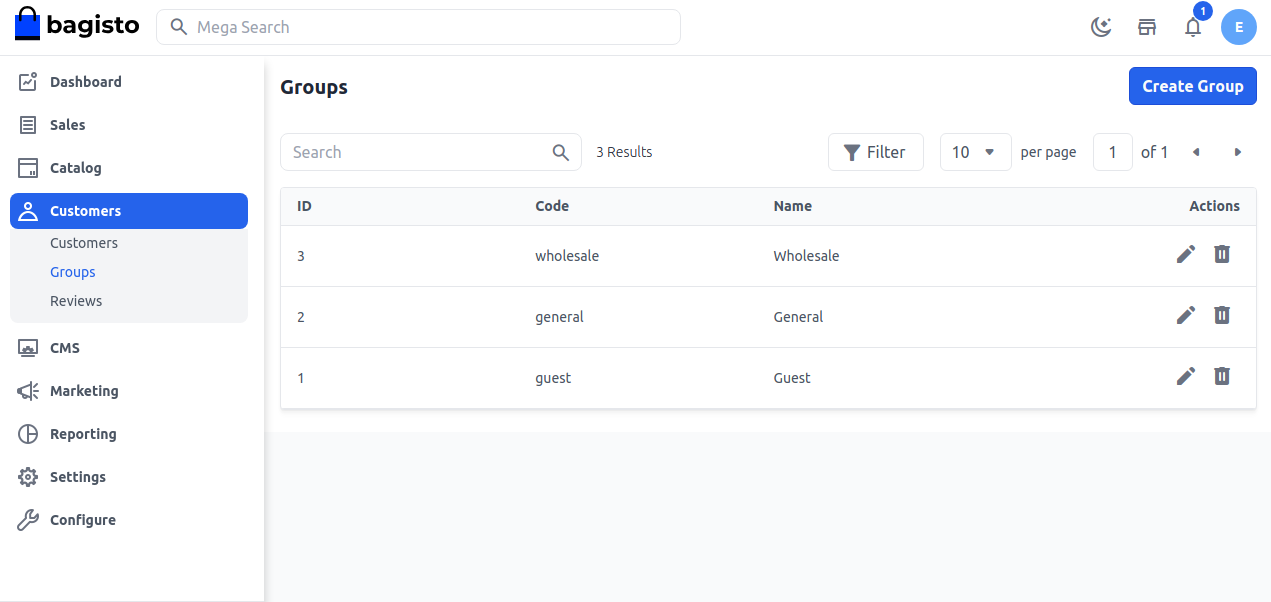
Click Save Group. The group is added to the list.
Edit a group
- Go to Customers >> Groups.
- Click the pencil on the group's row. The Edit Group dialog opens.
- Change the Code or Name.
- Click Save Group.
Delete a group
- Go to Customers >> Groups.
- Click the bin on the group's row.
- Click Agree to confirm.
A group can't be deleted when:
- it's one of the default groups. The page shows Default Group Can not be Deleted.
- customers still belong to it. The page shows This group has associated customers and cannot be deleted. Move the customers to another group first, with Edit on each customer's page. See Edit customer details.
The group for new customers
Customers who sign up on the storefront join the Default Group chosen in Customer Settings, which is General in a new store. When you create a customer in the admin panel, you choose their group in the dialog. You can move a customer to another group at any time with Edit on their page.