CName Mapping
CName Mapping lets tenants connect their own domain to the subdomain created by the SaaS, which helps with professional branding.
When a tenant signs up, a default subdomain like username.rootdomain.com is created. With CNAME, their actual domain can be directed to this subdomain. This makes it easy for customers to find the store and keeps a reliable, consistent online image.
The mapping is set up through the tenant's DNS provider and the SaaS by the Super Admin, and it doesn't need any extra plugins.
Flow to Map Tenant Domain with CNAME
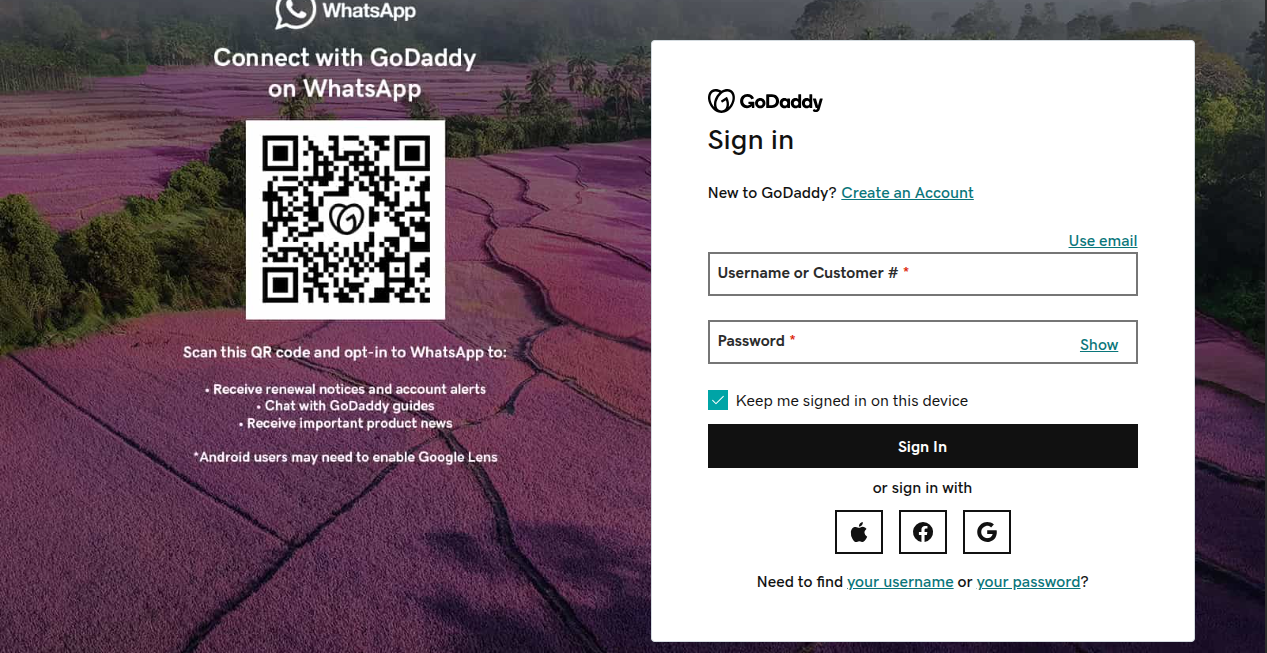
Step 1: Login to DNS Console
Log in to your DNS provider (like GoDaddy) and go to the settings for the domain you want to map.
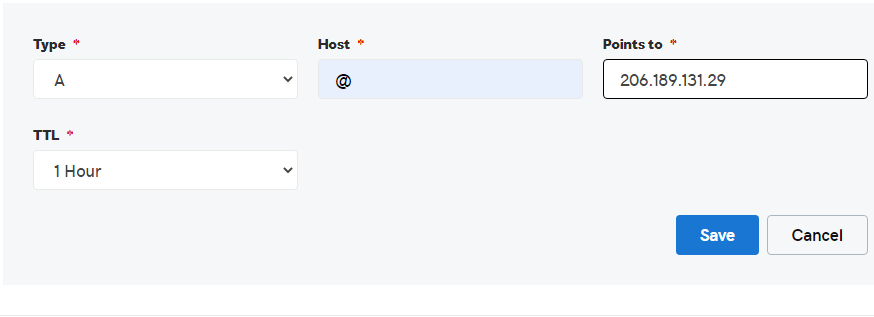
Step 2: Add DNS Record
Once you log in, set up an A record for your domain that directs to the IP of the SaaS server.
For example, to map the domain myshopdemo.com with the SaaS server IP: 206.189.131.29, add an A record in your DNS settings as shown in the image below.
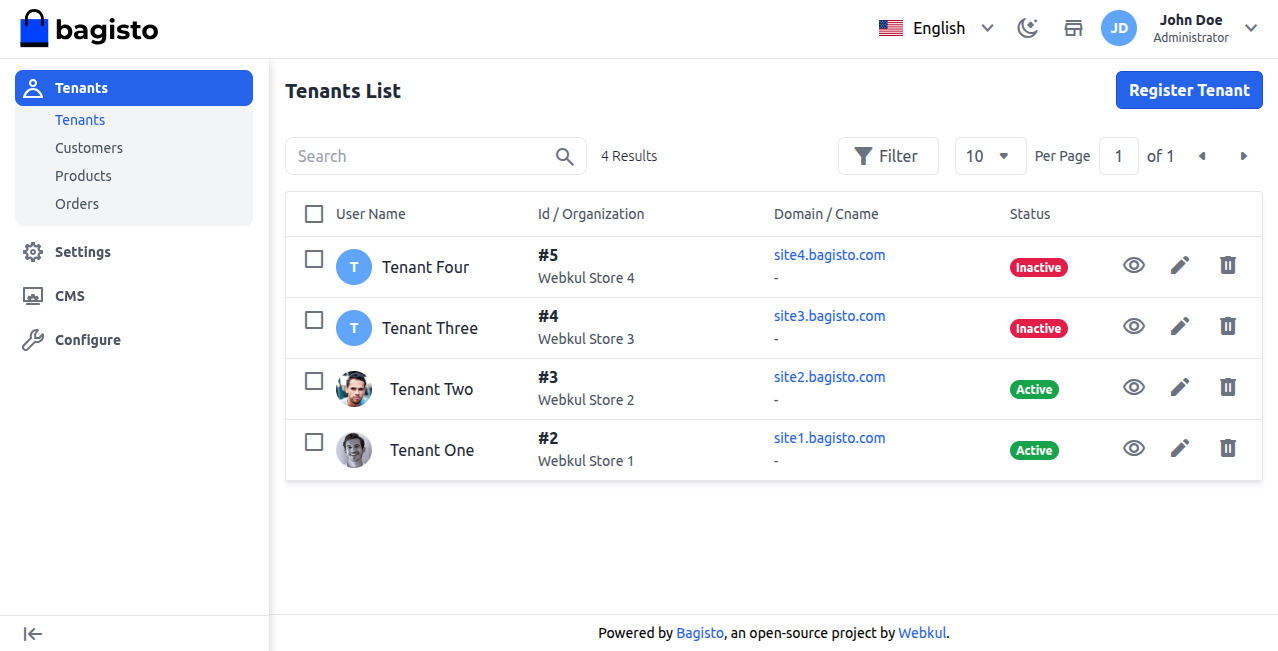
Step 3: Configure CNAME in SaaS
After mapping the domain with the server IP, log in as Super Admin in the SaaS. You will see the tenant’s subdomain already created (e.g., site1.bagisto.com).
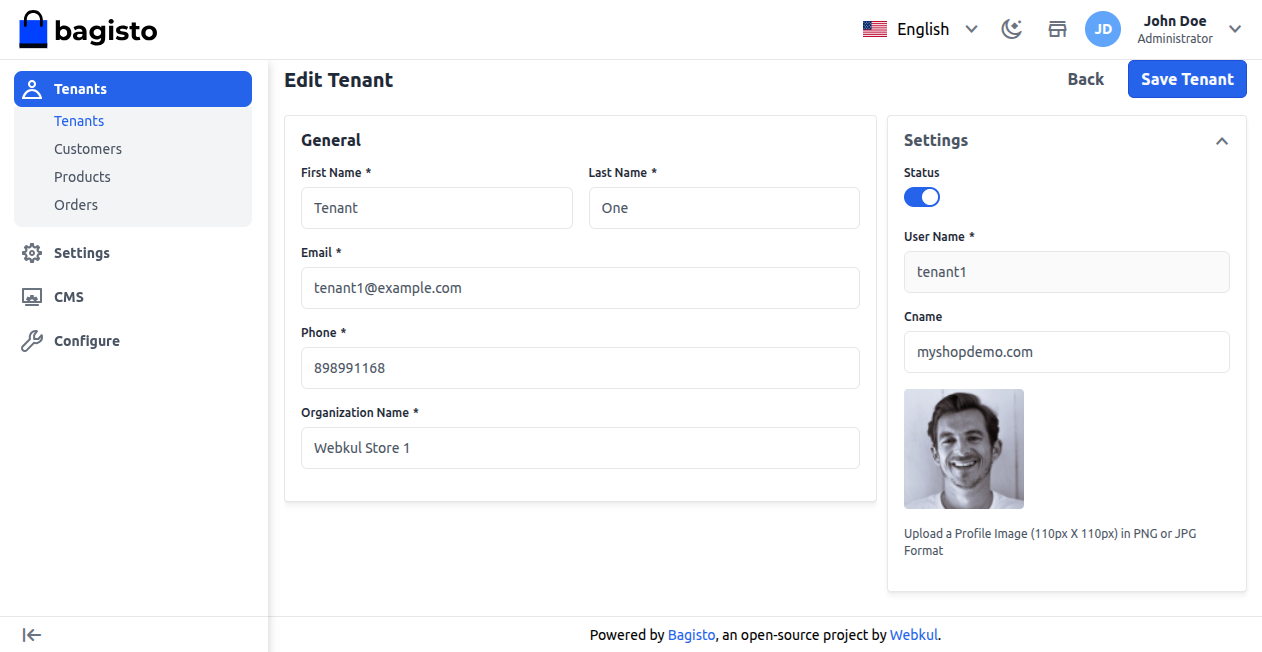
To map the tenant’s real domain (e.g., myshopdemo.com), click the edit (pencil) icon, enter the domain in the CNAME field, and then click Save Tenant to save.
Step 4: Test the Domain
Open the tenant's website in a browser and see if it loads properly.

If the website loads on the tenant's original domain (like myshopdemo.com), it means the connection with the SaaS subdomain worked successfully.