
Roles
A role is a set of permissions. Every admin user has one role, so roles control which parts of the admin panel each person can open and what they can do there.
Bagisto comes with the Administrator role, which has every permission. Create other roles for team members who need less access, such as someone who only handles orders.
Your roles
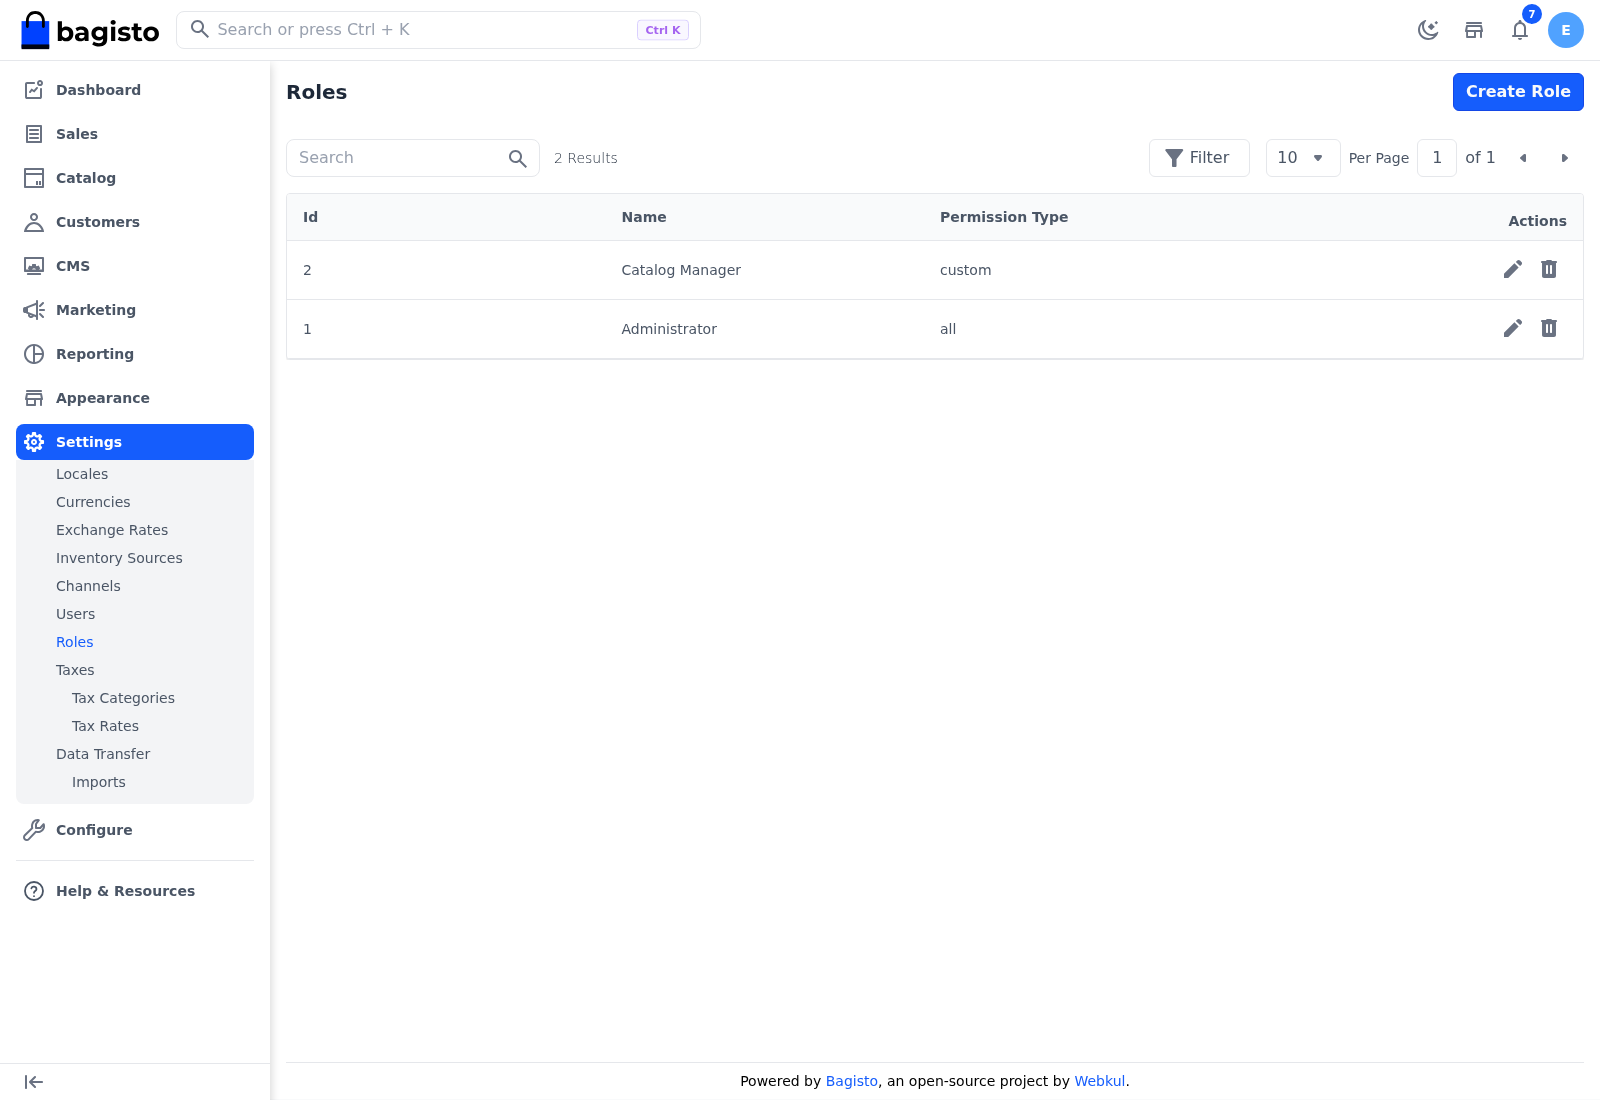
Go to Settings >> Roles to see every role with its Id, Name and Permission Type: all for a role with every permission, or custom for one with chosen permissions.
Create a role
Go to Settings >> Roles.
Click Create Role.
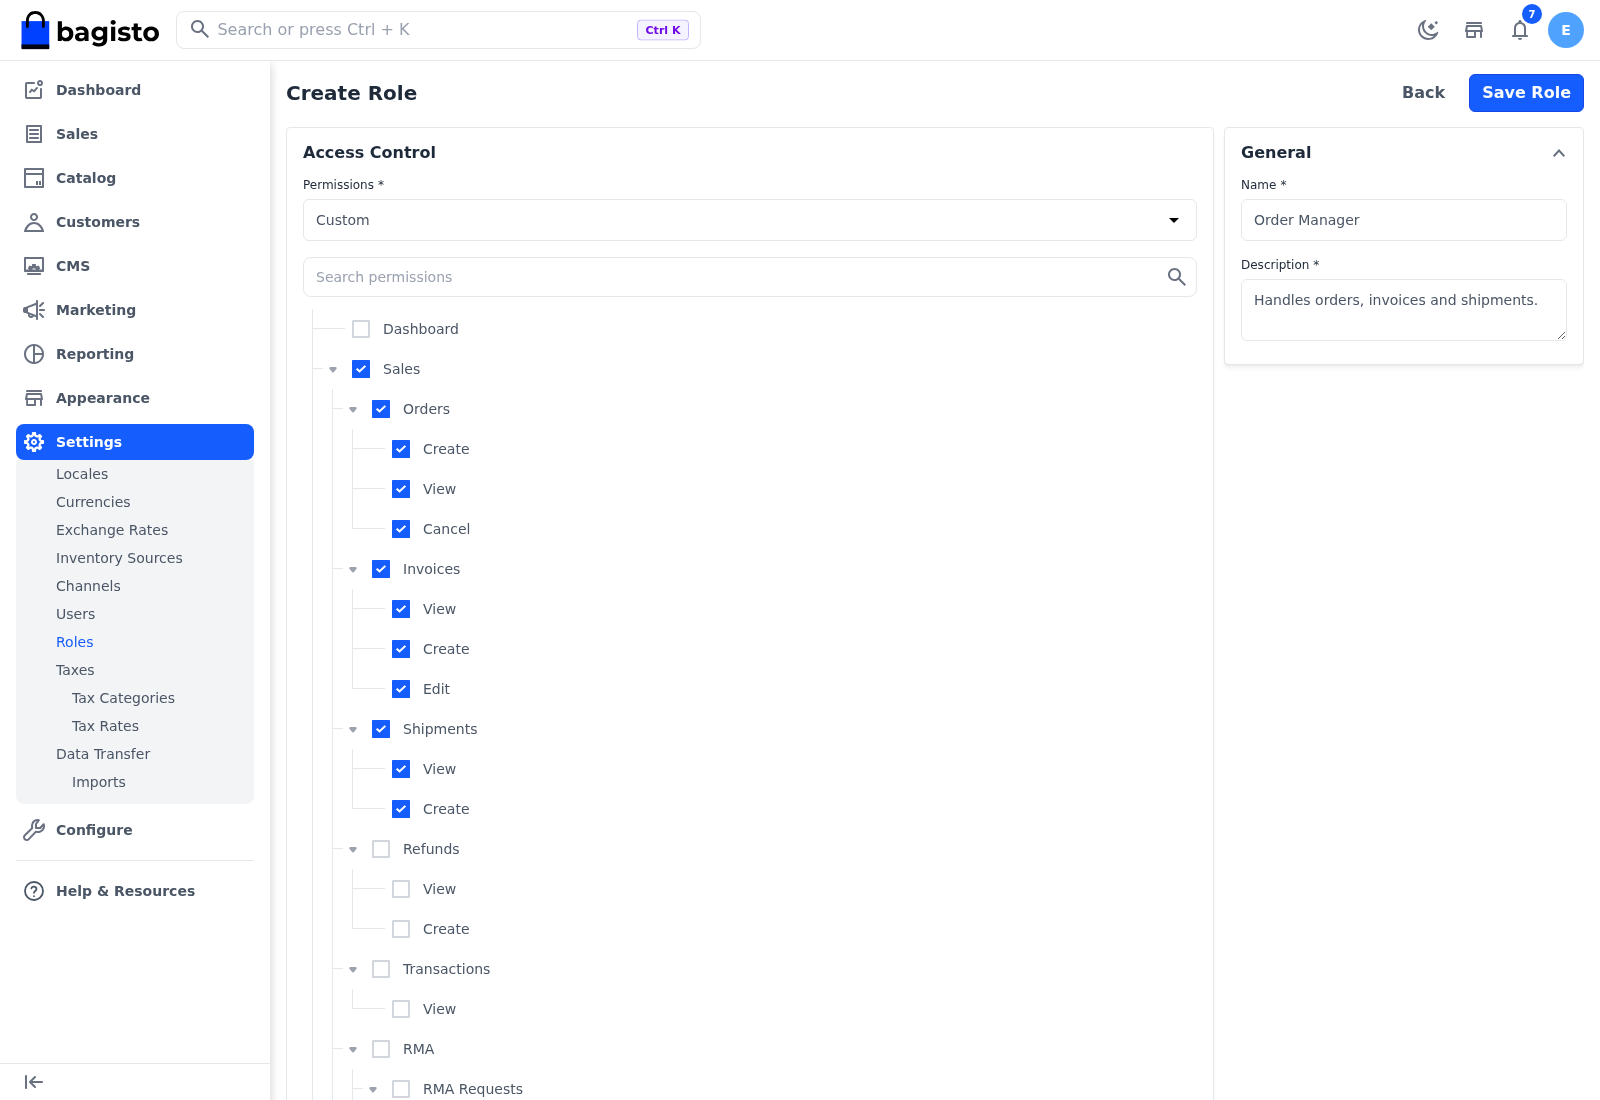
In Access Control, choose the Permissions: Custom lets you choose them, and All gives the role every permission. Custom is selected at first.
If you chose Custom, select each permission the role needs in the permission tree.
In General, enter the Name and Description.
Click Save Role.
The message Roles Created Successfully appears and the role is listed. You can now choose it when you create a user.
A role with Custom permissions needs at least one permission. If a role ends up with none, its users are signed out.
Find the right permissions
- The permission tree follows the admin menu. Each group matches a menu item, such as Sales or Catalog, and holds the actions inside it, such as Create, View or Edit.
- Every group starts expanded. Click the arrow beside a group to collapse or expand it.
- Type in Search permissions to find a permission by name.
- Selecting a permission also selects the groups above it and every permission under it.
- Clearing a group clears everything under it. Clearing a single permission leaves its group selected.
What a user with a custom role sees
- Menu items and buttons for things the role can't do are hidden.
- If the user opens a page the role doesn't allow, for example from a bookmark, a 401 Unauthorized page is shown.
- If the role doesn't include Dashboard, the user goes straight to the first page the role allows when they sign in.
Edit or delete a role
To edit a role:
- Go to Settings >> Roles.
- Click the edit icon of the role.
- Change the role's details or permissions.
- Click Save Role.
The message Roles is updated successfully appears.
To remove a role:
- Go to Settings >> Roles.
- Click the delete icon of the role.
- Click Agree to confirm.
- A role that is assigned to a user can't be deleted. Give those users another role first.
- The last role can't be deleted.
- While only one user has a role with All permissions, no role can be changed from All to Custom. Give a second user full access first.