Admin Panel
The admin panel is where you run your store: products, orders, customers, settings and more. This page shows you how to sign in, find your way around and look after your own account.
Sign in
On a standard installation, the admin panel is at /admin on your store's address, for example https://your-store.com/admin. Whoever installed the store can move it to a different path.
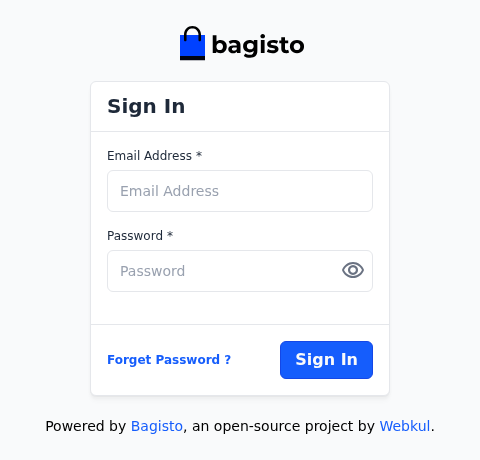
Open the admin panel's address in your browser. The Sign In page opens.
Enter your Email Address and Password (the eye icon shows the password you typed).
Click Sign In.
The dashboard opens. If your role doesn't include the dashboard, the first page your role allows opens instead.
- If the email address or password is wrong, the message Please check your credentials and try again. appears.
- If your account is inactive, Your account is yet to be activated, please contact administrator. appears. Ask an admin to switch your Status on under Users.
- If you have turned on two-factor authentication, you enter a code from your authenticator app next.
Reset a forgotten password
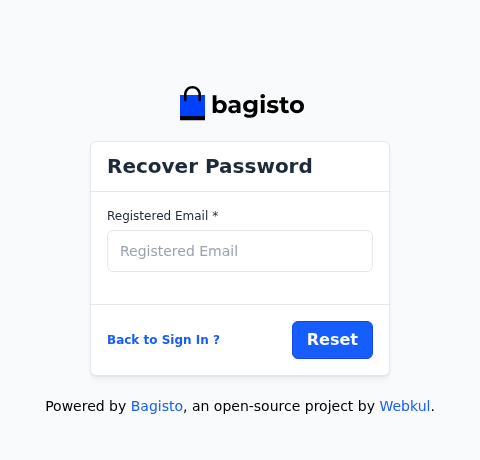
On the Sign In page, click Forget Password ?.
Enter your Registered Email.
Click Reset.
The message Reset Password link sent appears, and an email with a link is sent to you. The link works for 60 minutes.
Open the link in the email.
On the Reset Password page, enter your Registered Email.
Enter a new Password of at least 6 characters, and enter it again in Confirm Password.
Click Reset Password.
You're signed in and the dashboard opens.
- If Email Not Exists appears, check the address. If you asked for a link a moment ago, wait a minute before you ask again.
- The email is sent only when your store can send email. See Email Settings.
Find your way around
Every admin page has the same header across the top and the menu on the left.
The header
From left to right:
- Logo: opens the dashboard.
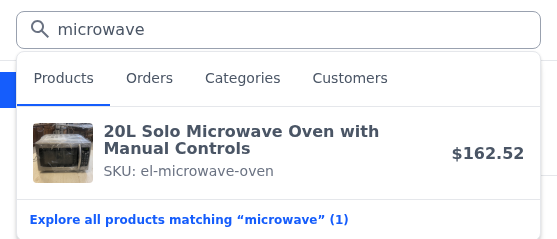
- Search box: finds products, orders, categories and customers. Type at least two characters, then switch between the Products, Orders, Categories and Customers tabs. Click a result to open it, or the link at the bottom to see every match. To search menus, settings and actions too, press Ctrl + K (⌘ K on a Mac) to open the command palette.

When you type in the search box, the matches appear under it, grouped in tabs:
- Dark mode: the moon icon switches the admin panel between light and dark. Your choice is remembered in this browser.
- Visit Shop: the shop icon opens your storefront in a new tab.
- Notifications: the bell shows new orders. See Notifications.
- Account menu: your profile picture or initial. It shows the Bagisto version, My Account and Logout.

The sidebar
The sidebar lists the parts of the admin panel. Click an item to open it; its pages are listed under it. Point at another item to see its pages without leaving the one you're on.
| Menu | What you manage there | In this guide |
|---|---|---|
| Dashboard | A summary of sales, orders, customers and stock | Dashboard |
| Sales | Orders, shipments, invoices, refunds, transactions, bookings, RMA and EU withdrawals | Sales |
| Catalog | Products, categories, attributes and attribute families | Catalog |
| Customers | Customers, groups, reviews and GDPR data requests | Customers |
| CMS | Content pages | CMS |
| Marketing | Promotions, communications, and search and SEO | Marketing |
| Reporting | Sales, customer and product reports | Reporting |
| Appearance | Themes and their sections | Themes & Sections |
| Settings | Locales, currencies, exchange rates, inventory sources, channels, users, roles, taxes and data transfer | Store setup |
| Configure | Store-wide settings | Configure |
- You see only the items your role allows.
- The arrow button at the bottom of the sidebar shrinks it to icons, to give pages more room. Click it again to expand it. Your choice is remembered in this browser.
- Help & Resources, below the menu, opens a page of links to Bagisto's hosting, support and paid services, extensions, and developer and API documentation, with a Contact Us button.
- On a small screen, the sidebar is hidden. Click the menu icon at the left of the header to open it.
Notifications
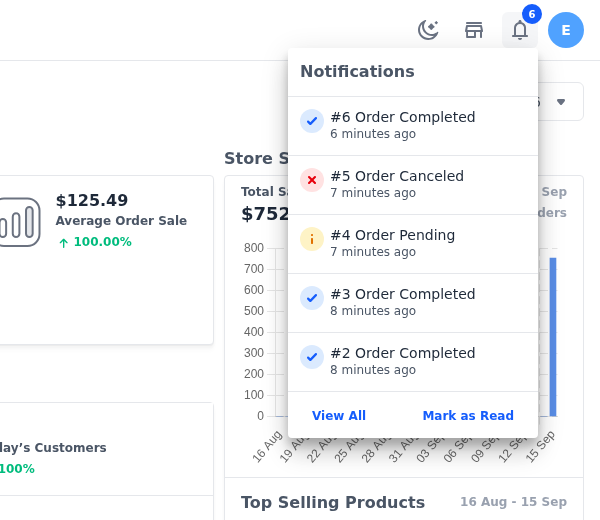
A notification is added when an order is placed, and updated when the order's status changes.
- Click the bell in the header. Up to five unread notifications are listed, each with the order's status.
- Click a notification to open the order. The notification is marked as read.
- Mark as Read marks every notification as read.
- View All opens the Notifications page, where you can show All notifications or only those for Order Pending, Order Processing, Order Canceled, Order Completed or Order Closed orders.
Working with lists
Most screens, such as Catalog >> Products or Settings >> Channels, open on a list. Every list has the same controls.

- Search: type a word and press Enter. The list shows the rows that contain it, and the number of Results.
- Sort: click a column heading to sort by it. Click it again to reverse the order.
- Per Page: choose how many rows to show, from 10 to 50. Use the arrows, or type a page number, to move between pages.
- Row actions: the icons at the end of a row, such as edit and delete. An action that changes data asks you to confirm with Agree.
- Select rows: on lists with bulk actions, tick the box on each row, or the box in the heading row to select the whole page. Select Action then appears in place of the search box, with the number of rows selected, and lists what you can do with them. Each action asks you to confirm.
- Export: on lists that have it, such as products, orders and customers, Export downloads every row that matches the current filters as a CSV, XLS or XLSX file.
To filter a list:
- Click Filter. The Filters panel opens.
- Under Custom Filters, enter or choose the values you want.
- Click Apply Filters.
A dot on Filter shows that filters are on. Clear All in the panel removes them. To reuse a set of filters, click Save Filter and give it a Name. Your saved filters appear under Quick Filters in the panel, and only you see them.
Update your account
Click your profile picture or initial in the header.
Click My Account.
In General, change your image, Name or Email. A 110 × 110 px image in PNG or JPG format is recommended.
In Change Password, enter your Current Password. It's needed every time you save, even when you don't change your password.
To change your password, enter a new Password, and enter it again in Confirm Password.
Click Save Account.
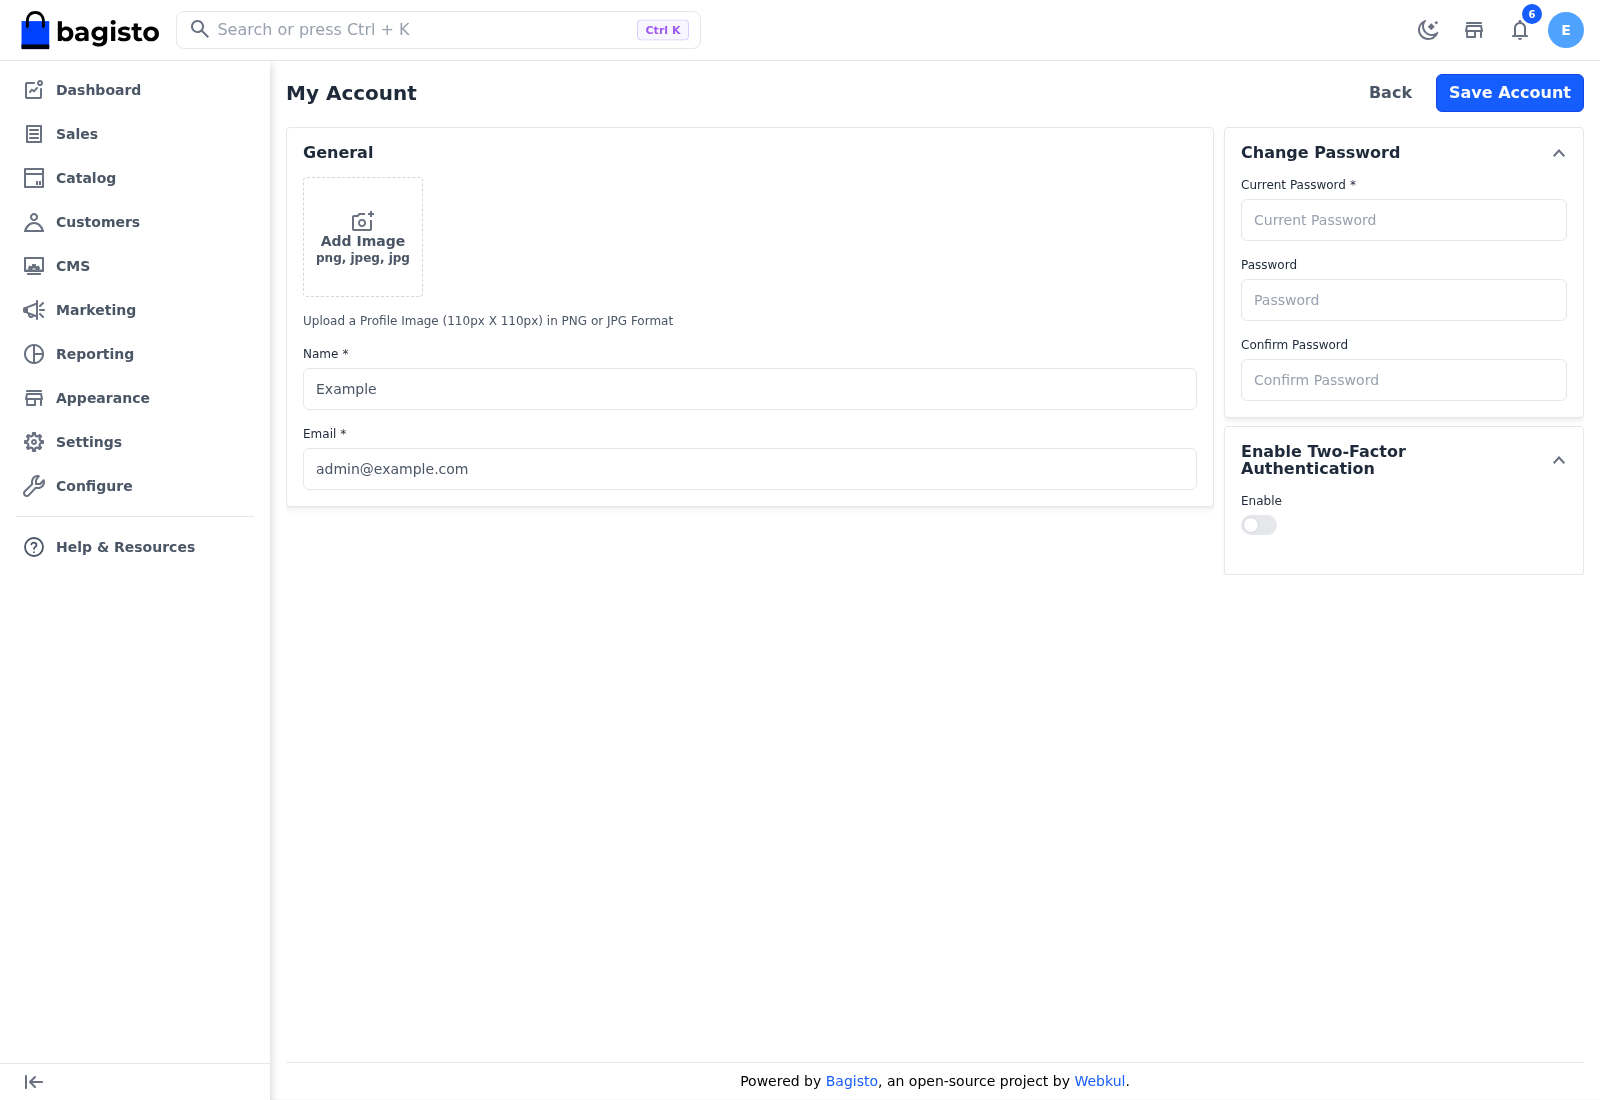
The message Account updated successfully appears. If the current password is wrong, The current password you entered is incorrect. appears instead.
To add a second step to your sign-in, see Two-Factor Authentication.
Sign out
- Click your profile picture or initial in the header.
- Click Logout.